Yes guys! I am back
You may have noticed i haven’t been blogging so much recently. Truth is i’ve started a new job as a Baker!
I am enjoying the job as its doing what i love. However the 6:30am starts I still cannot get used to, even 1 month in
No fear! I’m making it my mission to manage my time better so i can continue practising and sharing my recipes with you all! #butbearwithme

I have got another delicious and healthy recipe i hope you all love!
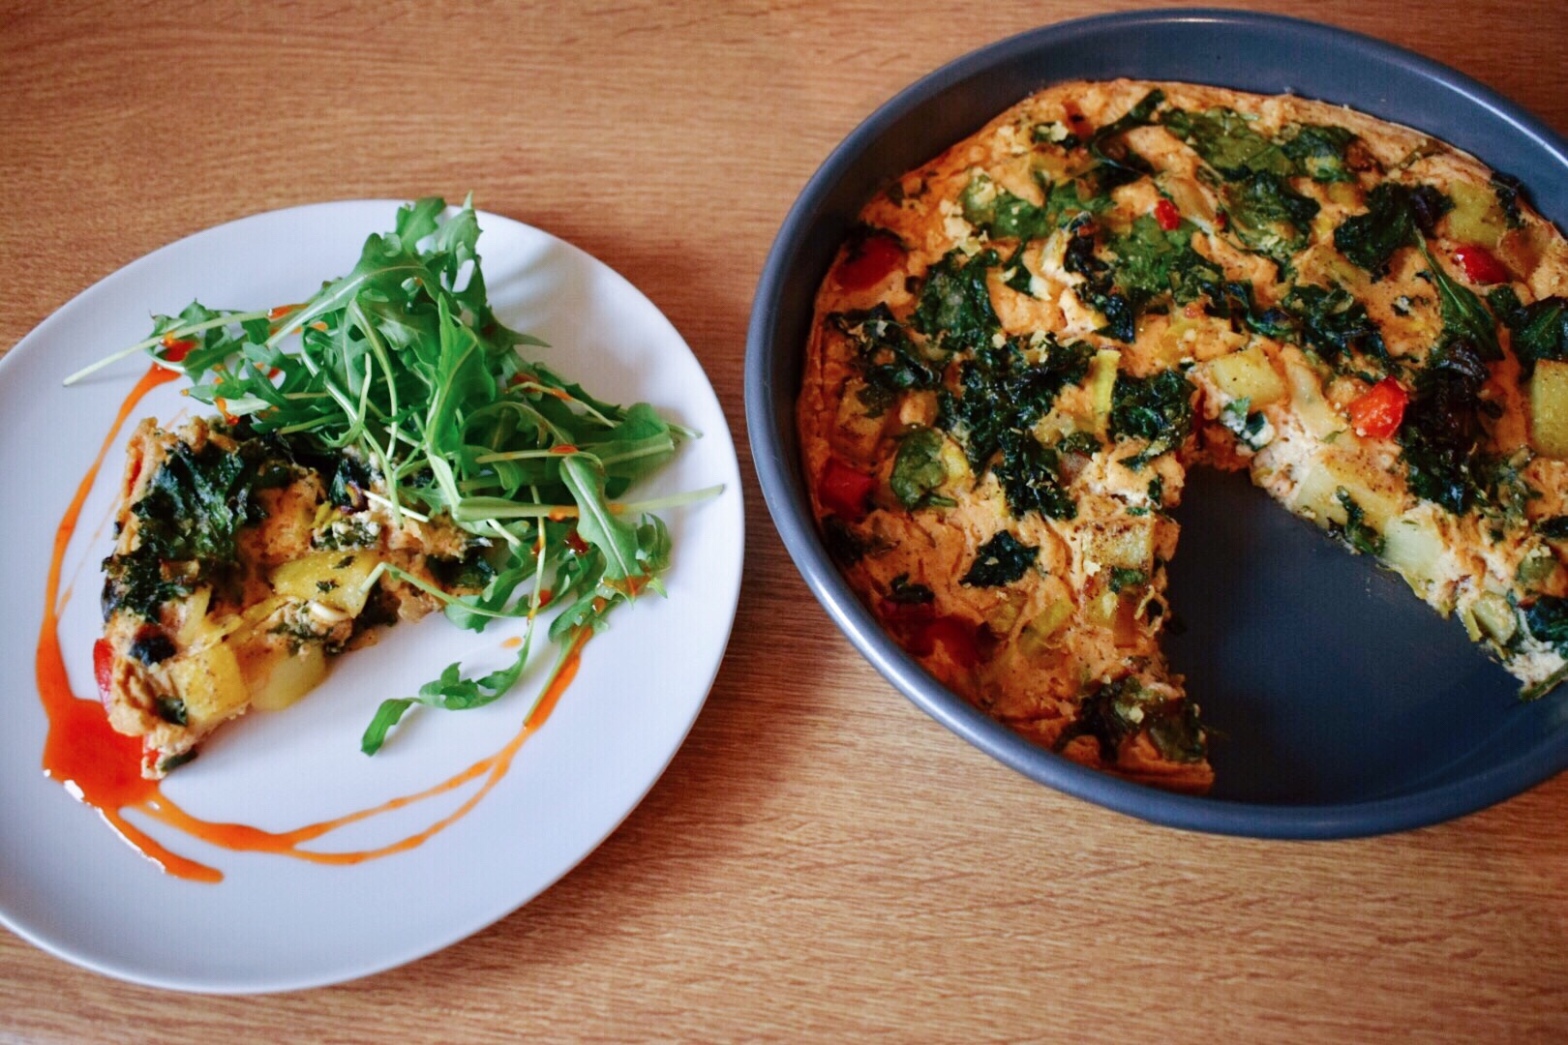
Vegan Frittata with sautéed kale, spinach, leeks, sweet peppers, onions and potatoes!
The eggless base is made using tofu – just another example of how versatile tofu is.
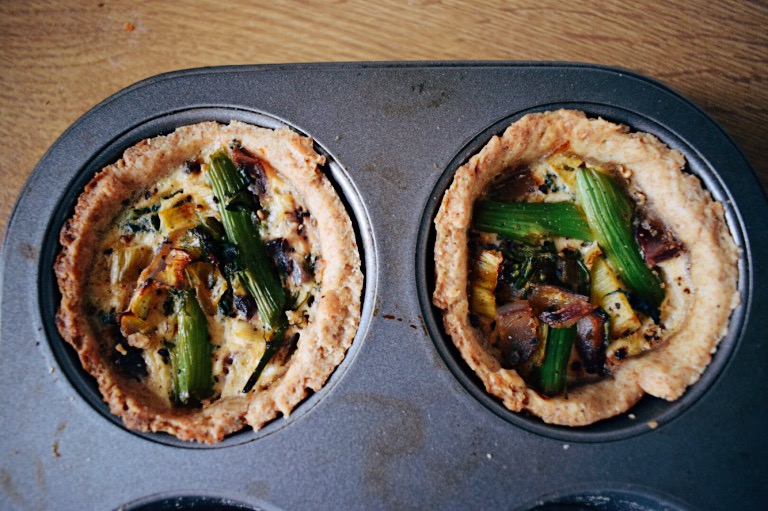
This recipe is similar to my quiche recipe, just minus the pastry! – Vegan Broccoli Spinach & Leek Quiche
This version is healthier and perfect for a light but tasty lunch.
The combination of fillings you could do are endless. I even thought of adding pulses, or chopped vegan quorn!
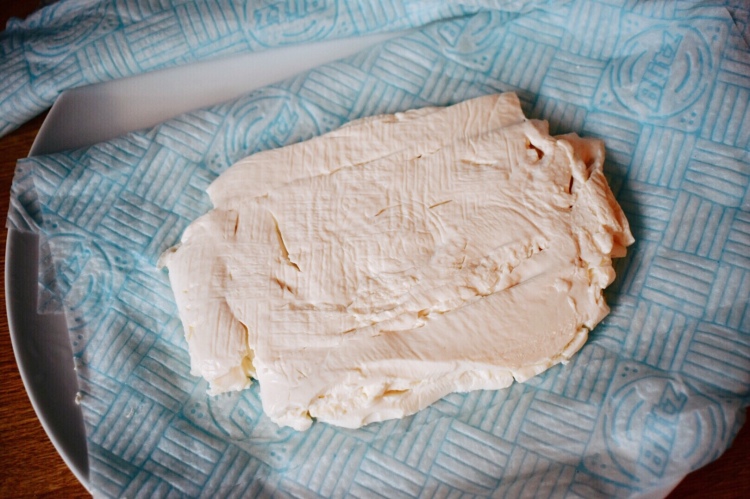
An important tip for this recipe to be a success is to press the tofu. However If you are using firm tofu, then this is not necessary.
I pressed the tofu for 2 hours and made sure I changed the kitchen roll in between to soak excess water.

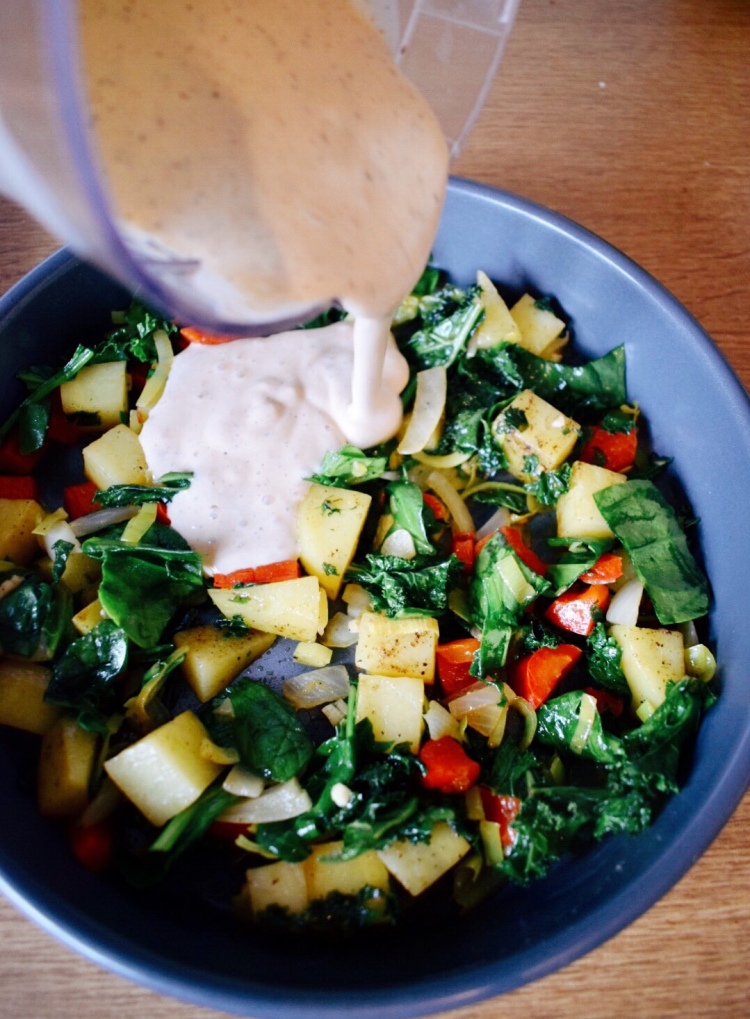
I blended tofu, dairy free milk, seasoning and cornflour together.
Cornflour/cornstarch is added as a thickening agent. The first time i made this recipe, i did not add any and the filling would not set or cook properly in the oven.
I then transferred the vegetables into a non stick or well greased baking tin or skillet. This tin was 8 inches and served 4-5.
For a thicker frittata i would suggest using a 6/7 inch tin, however the serving will be less.
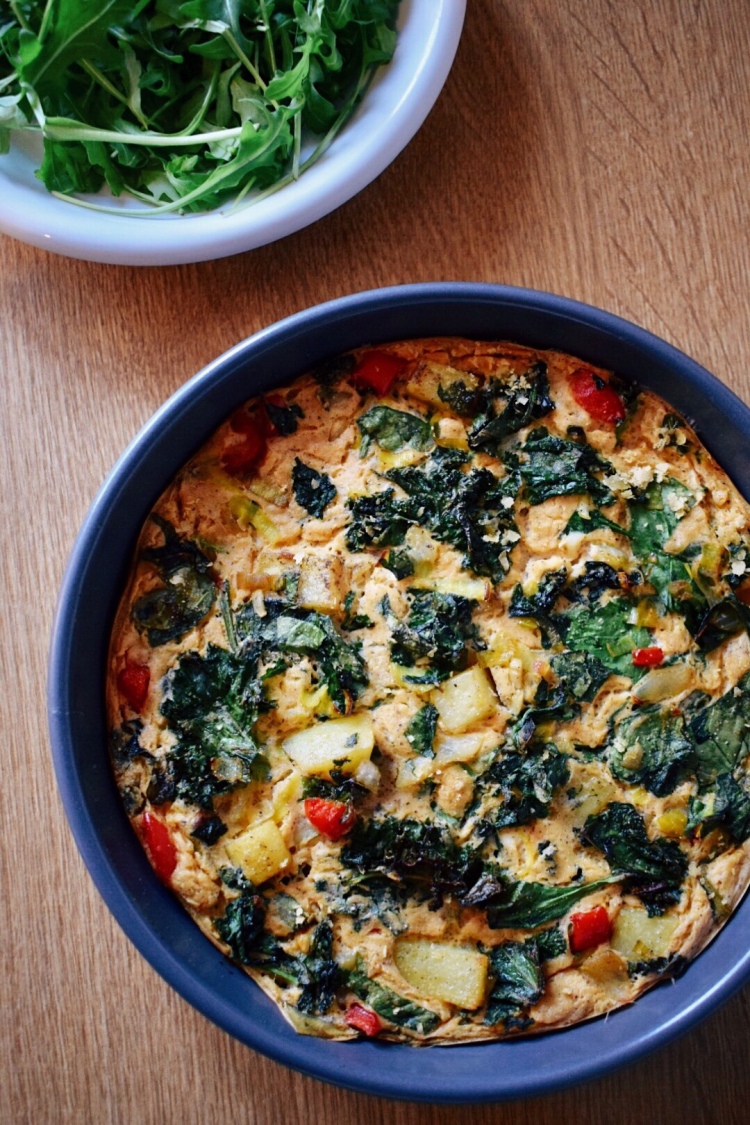
This Vegan Frittata recipe is healthy, flavoursome and so simple!
****If you try this recipe I’d love to know! Be sure to review it in the comment section, tag me in a photo on Instagram & use the hashtag #bakesbynaomi

Serves 4-5
Prep time 20min
Cook time 50min
The Tofu
- 400g pressed or firm tofu
- 200ml dairy free milk (i used soya)
- 3 tbsp cornflour
- 2tbsp nutritional yeast
- 1 tsp salt
- 1/2 tsp pepper
- 1/2 tsp dried basil
- 1/2 tsp smoked paprika
- 1/2 tsp onion powder
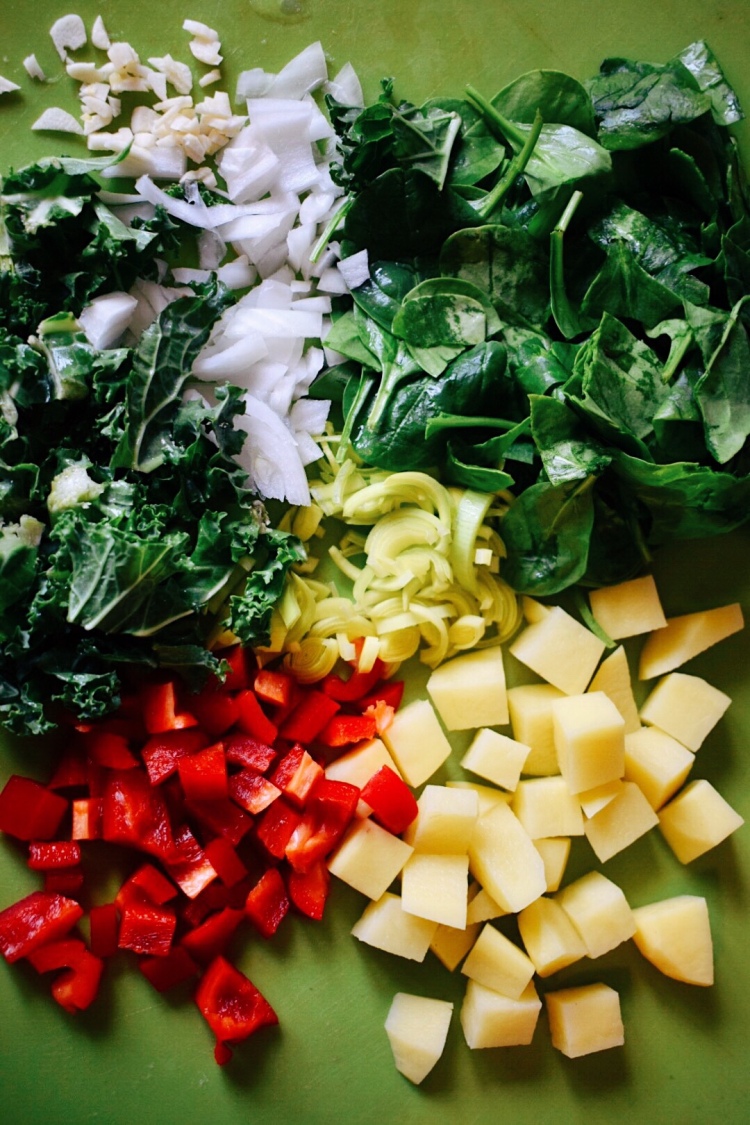
The Veg
- 1 medium potato (roughly 200g)
- 50g fresh spinach
- 30g kale
- 25g leeks
- 1/2 medium onion
- 1/2 sweet pepper
- 1 garlic clove
- Oil for frying
Instructions
- Preheat the oven to Gas 6/
- Peel and chop the potato into cubes. Chop the onion, sweet pepper, and garlic clove.
- Wash the leeks, kale and spinach. Finely chop the leeks and garlic clove.
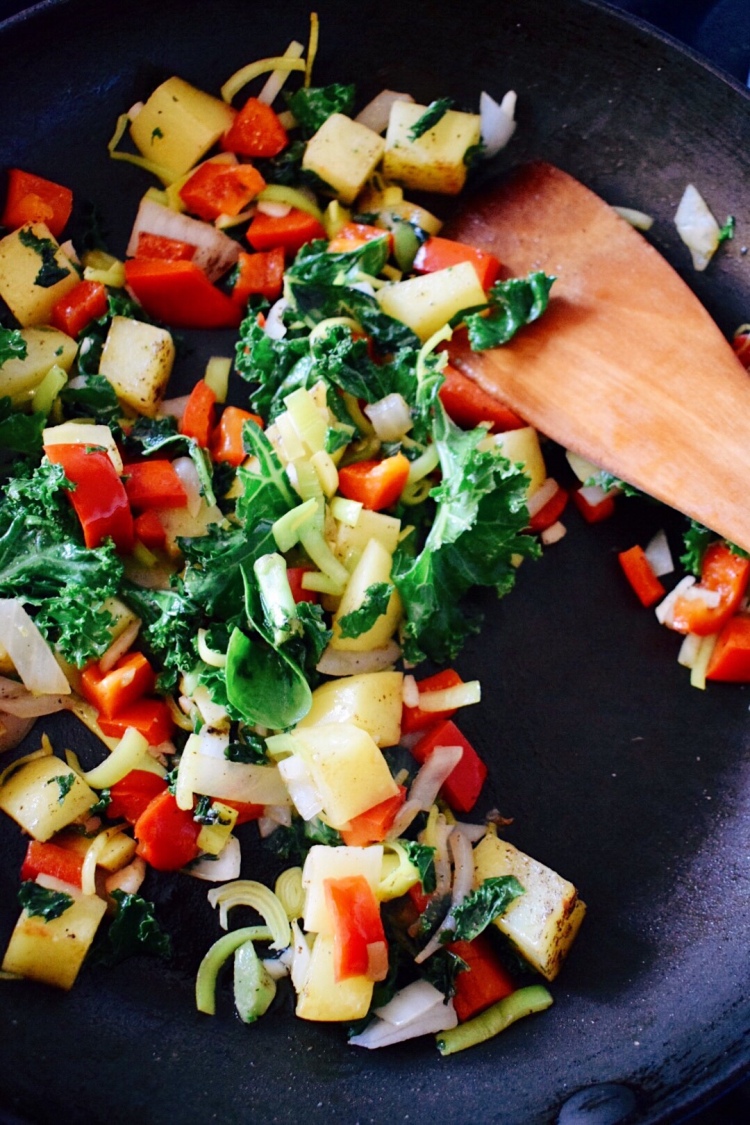
- Place a frying pan on low/medium heat with 1 tbsp oil. Add the potato, sweet pepper and kale, sauté for 4minutes.
- Then add the leeks garlic and onion, sauté for another 2/3minutes.
- While the veg is still hot add the spinach and remove the pan from the heat.
- Pour 3/4 veg into a tin and place to one side.
- In a blender add the tofu, milk, cornflour, nutritional yeast, salt, pepper, basil, paprika and onion powder.
- Pour the tofu mixture into the tin, add the remaining veg on top.
- Bake for 50 minutes until cooked through. Allow to cool before serving.
Keep refrigerated for 2/3 days


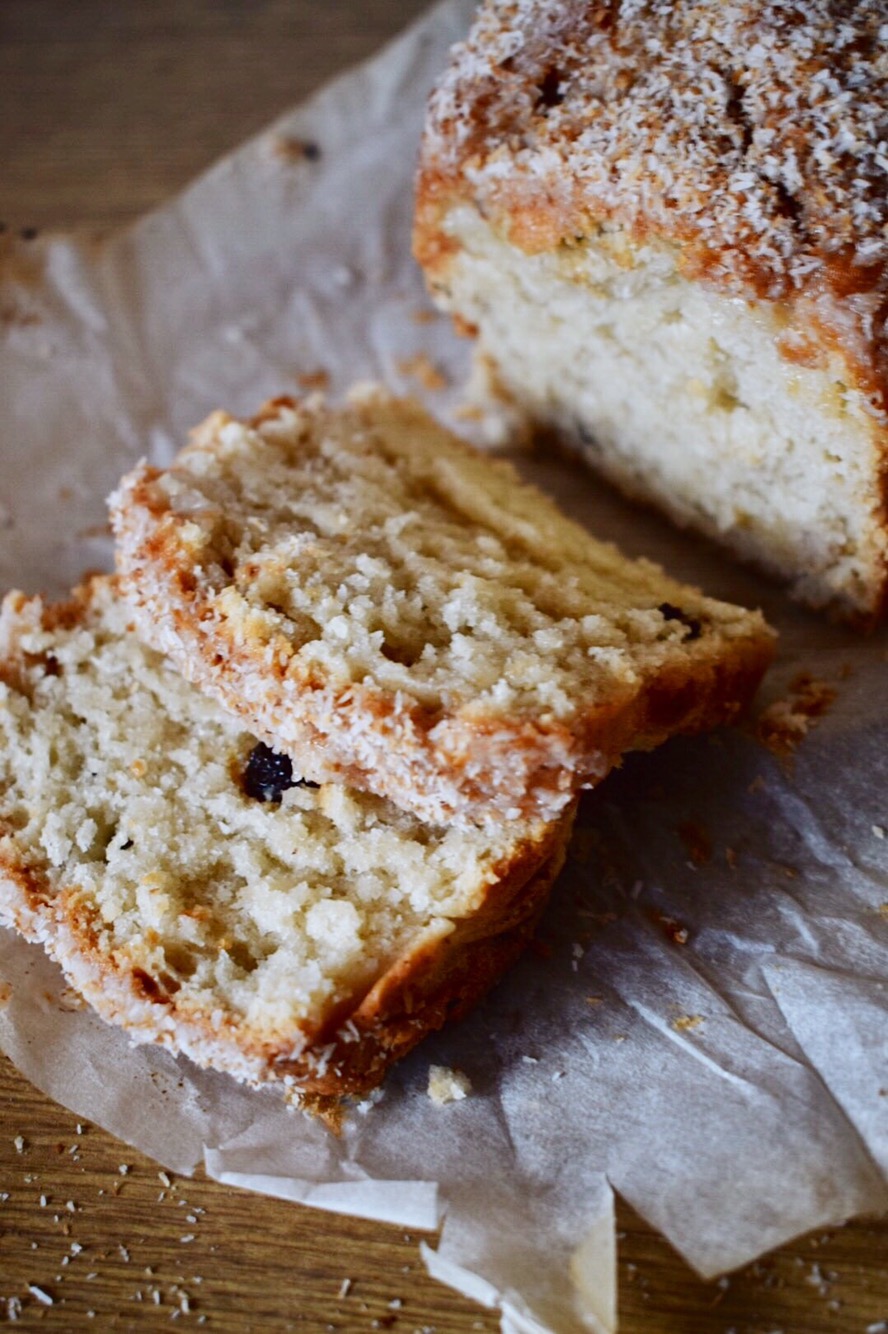
 Since then I’ve adapted my recipe by including 50g self raising flour, instead of all plain flour and some baking powder. This really helped to achieve a soft gooey brownie


 Serves 1-2


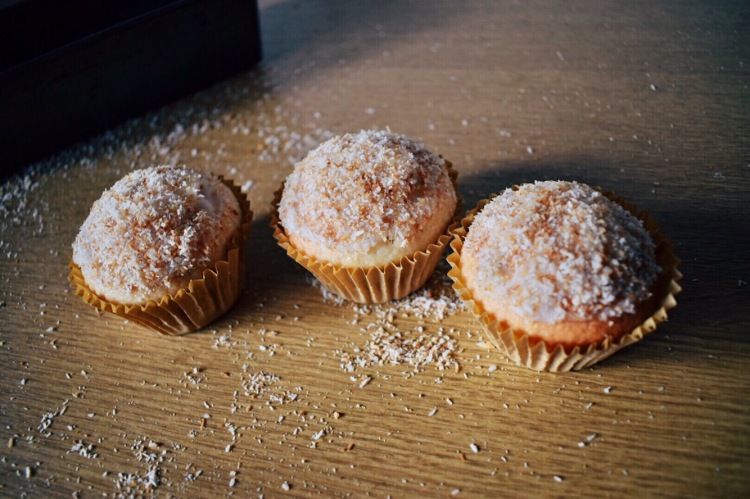
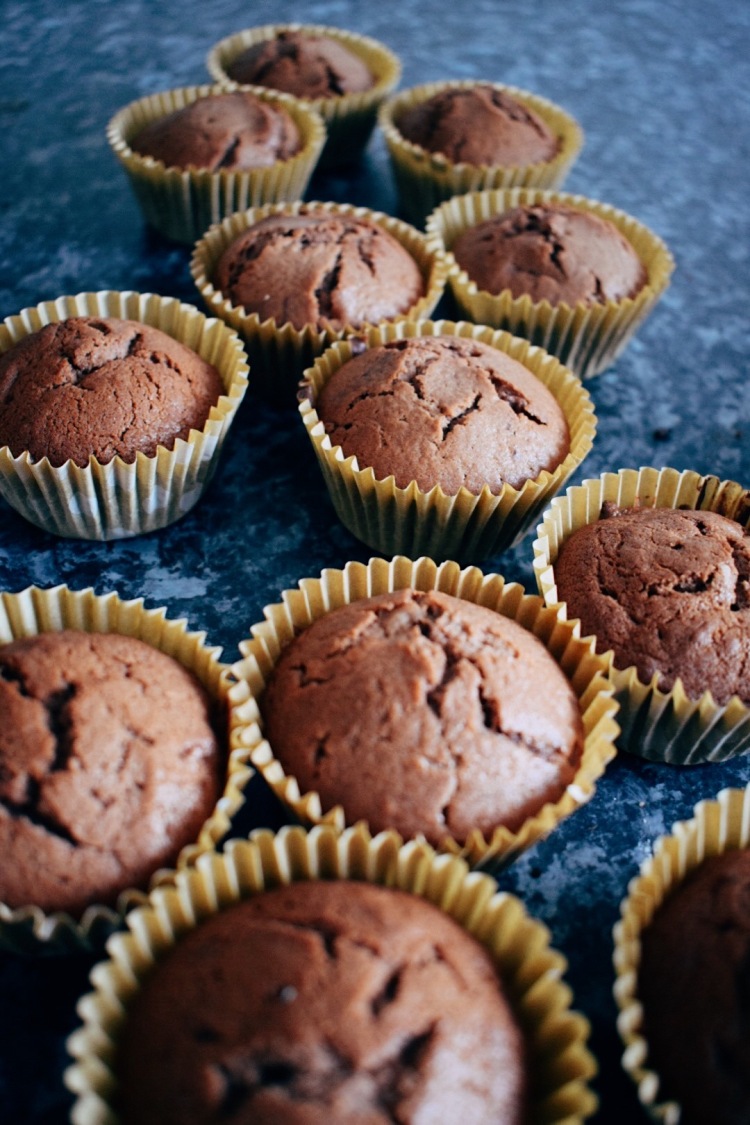
 Makes 13
 Makes 13 bites
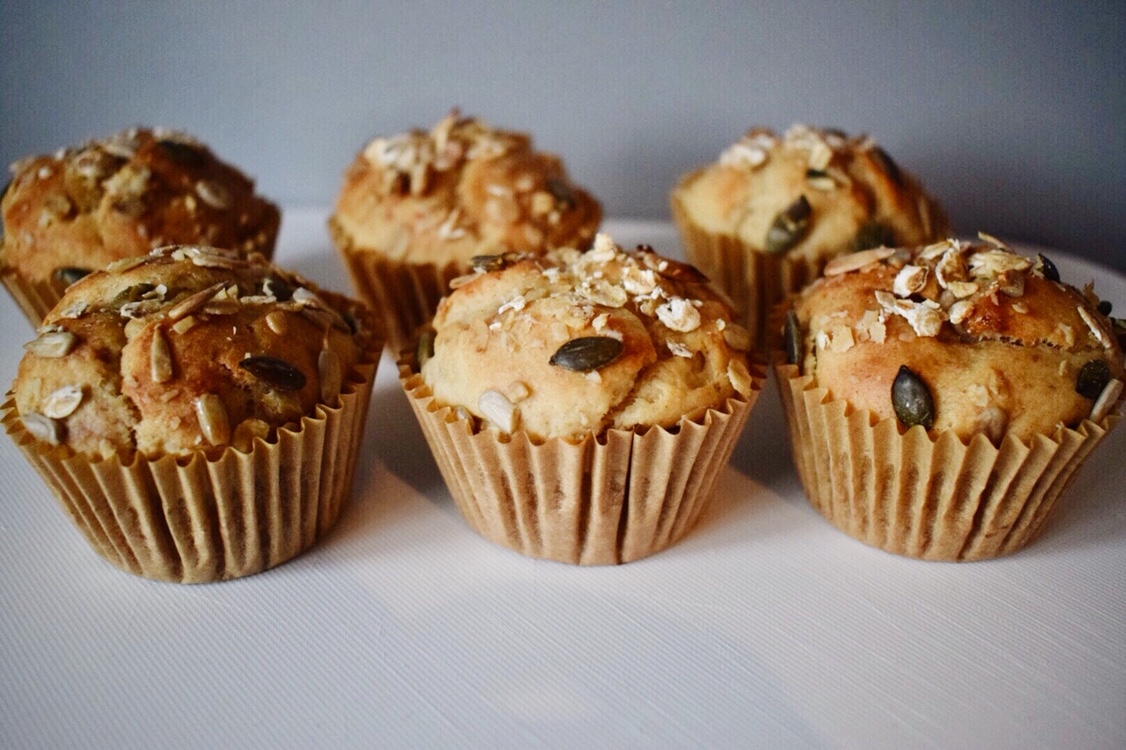
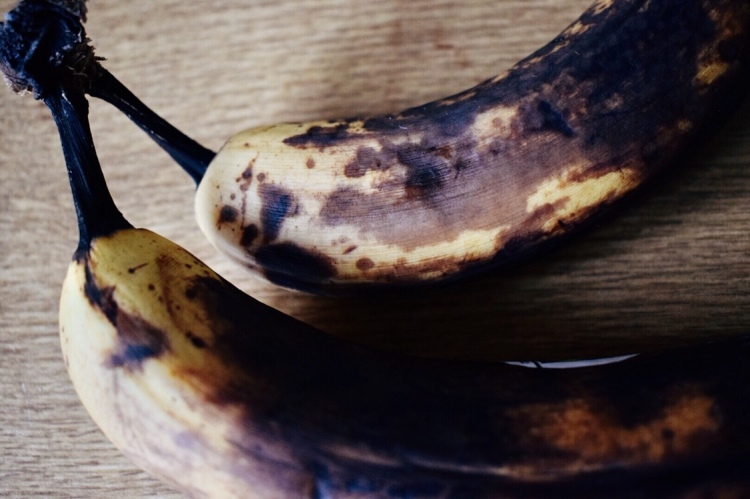


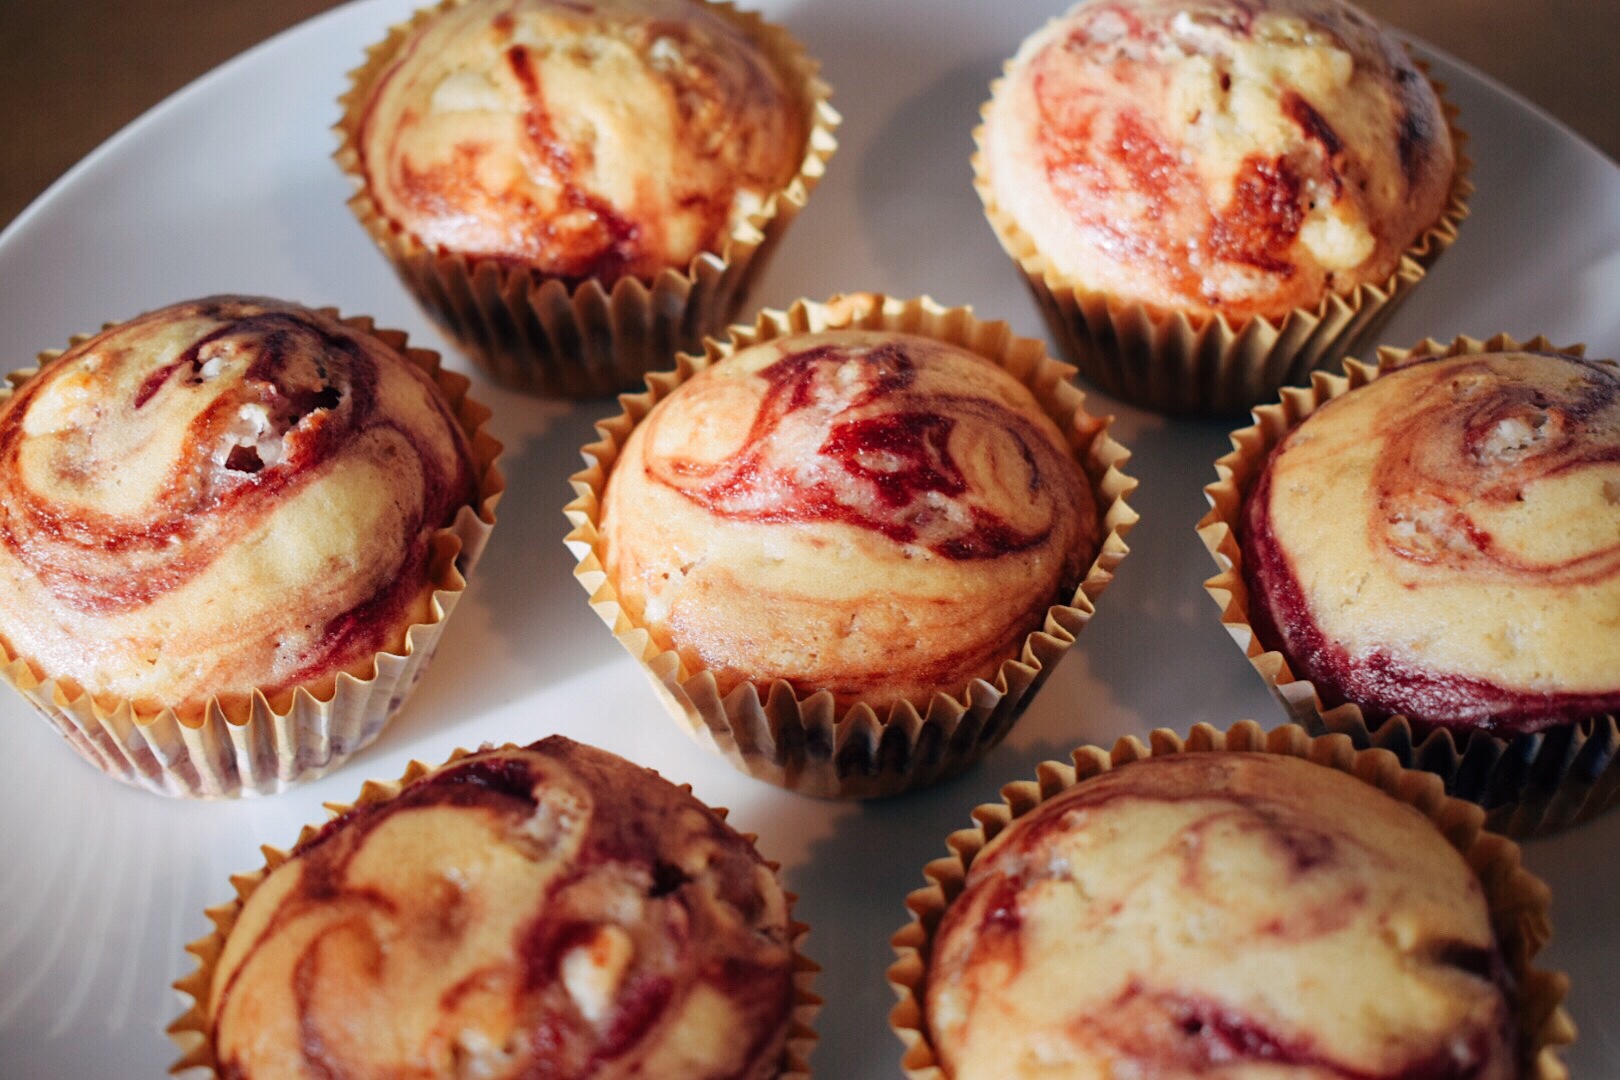
 The second time i made these muffins i included 50g raisins. They were delicious and paired very well with the banana flavour!
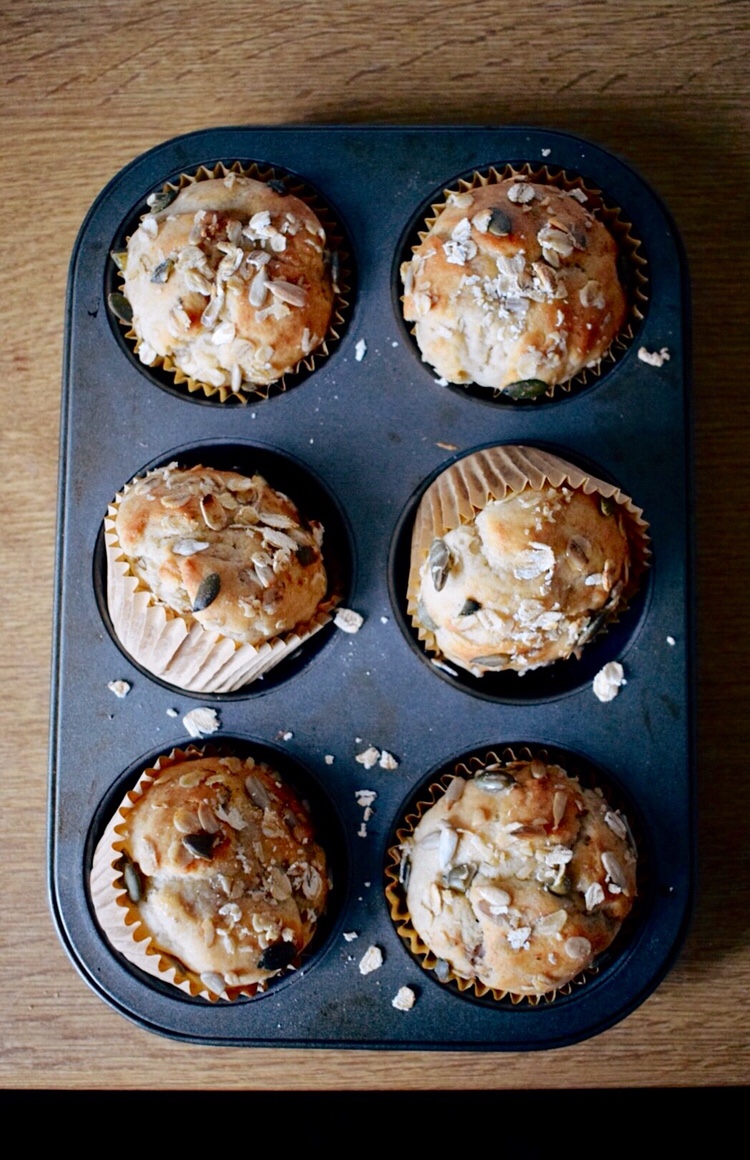
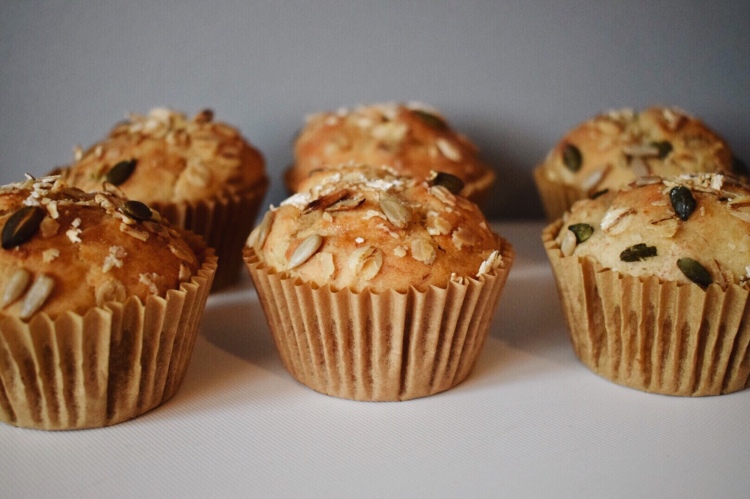
 Makes 12 Muffins


 Prep 20minutes
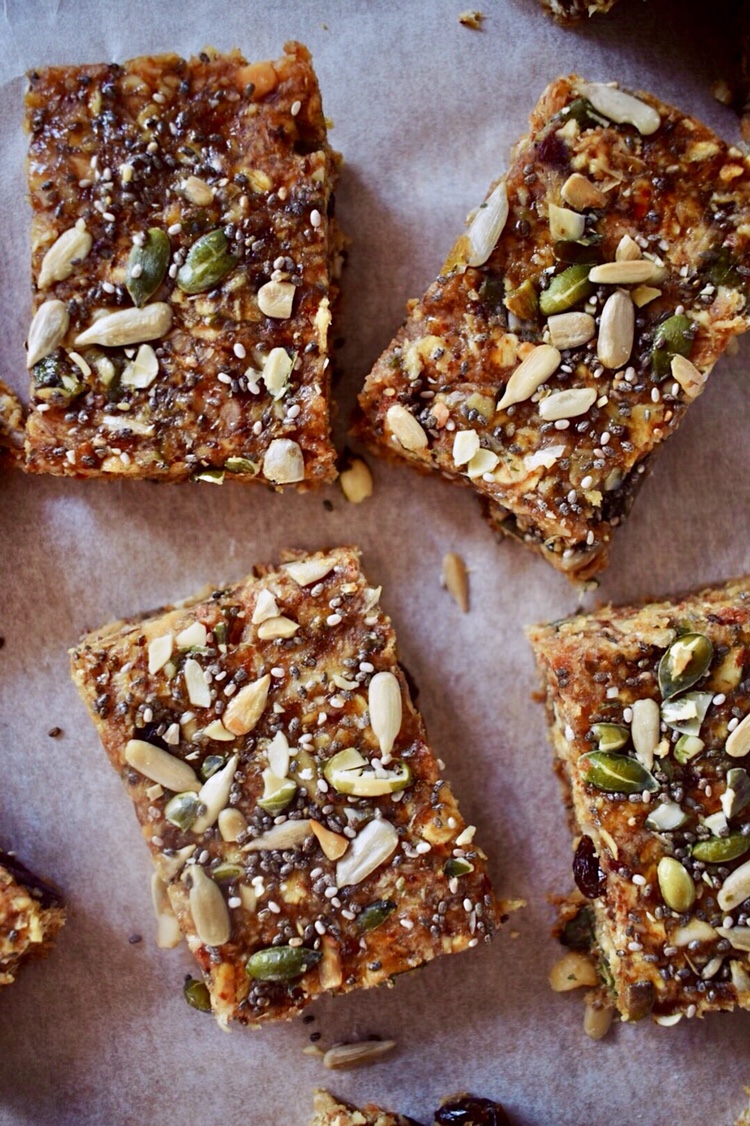
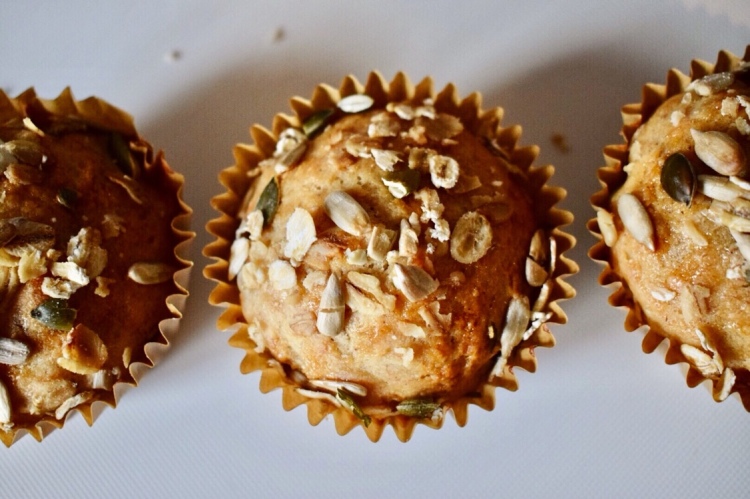
 I chose pumpkin, sunflower and chia seeds which i toasted. And added ground flaxseeds to the granola mixture.
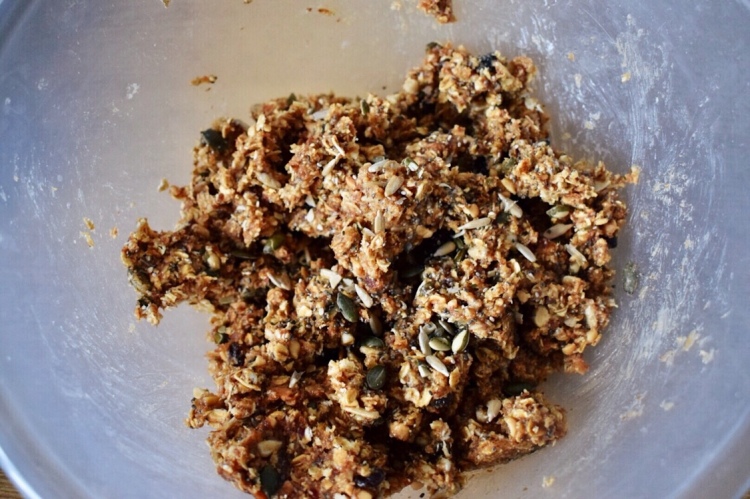
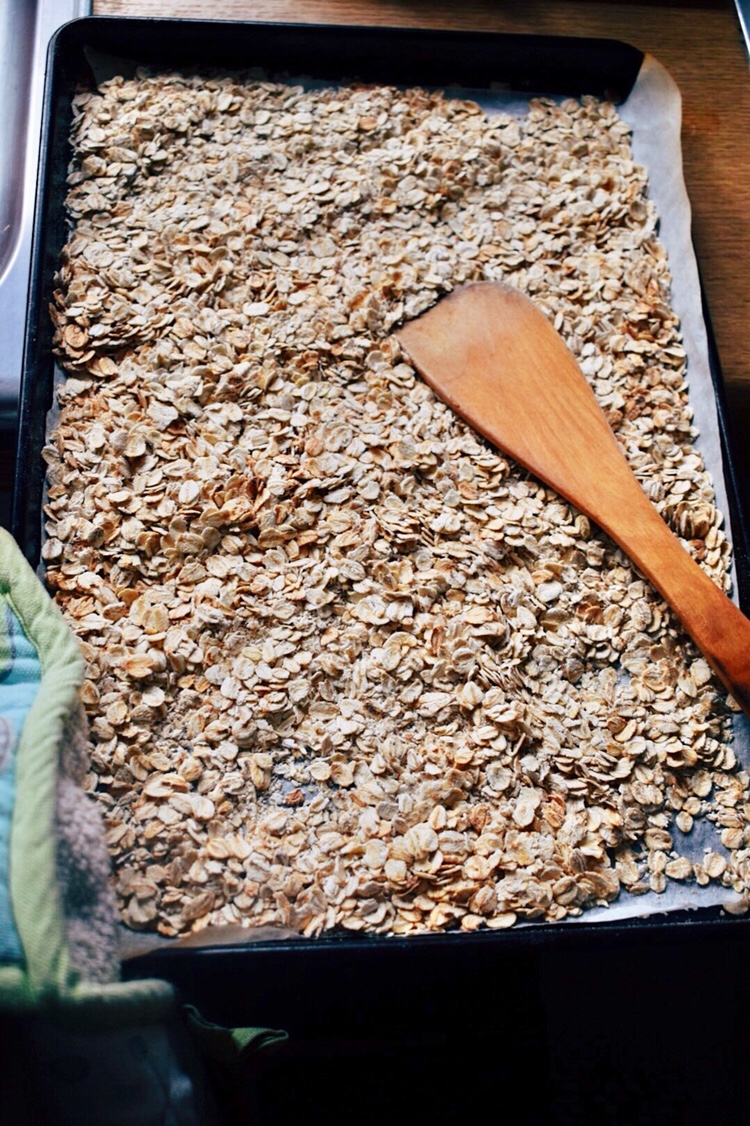


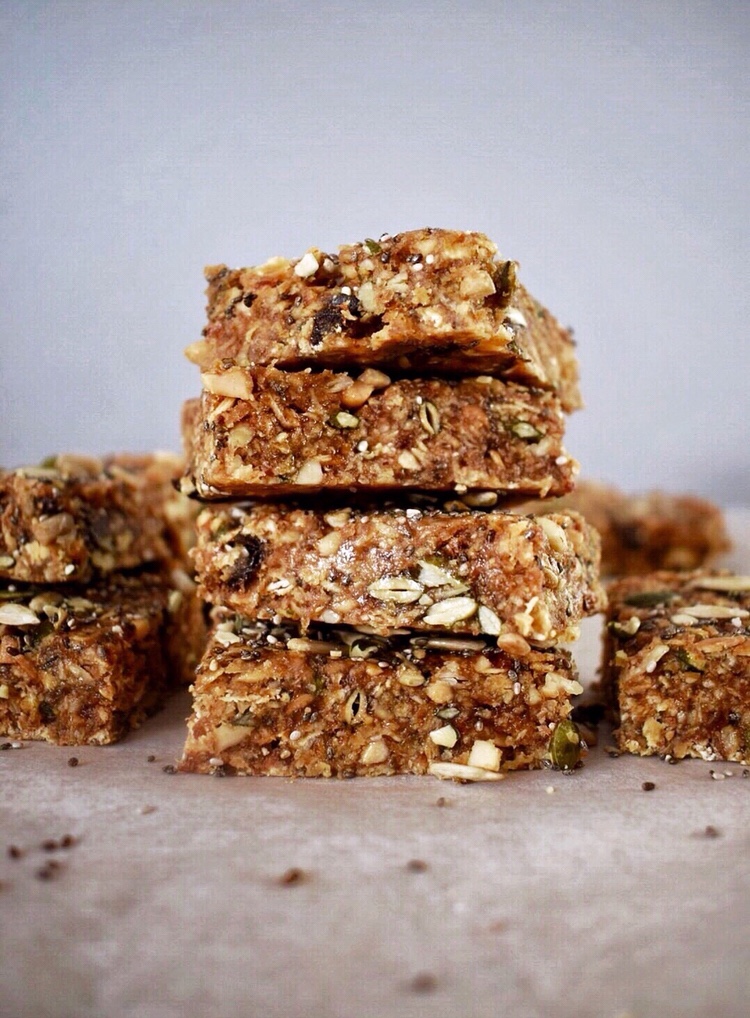 Makes 12
 This Chickpea & Cashew Sauce recipe is easy to make with only 15minutes prep time!
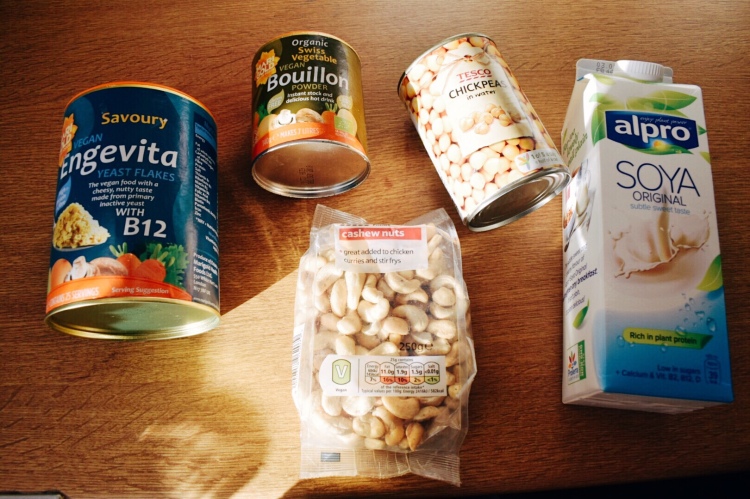
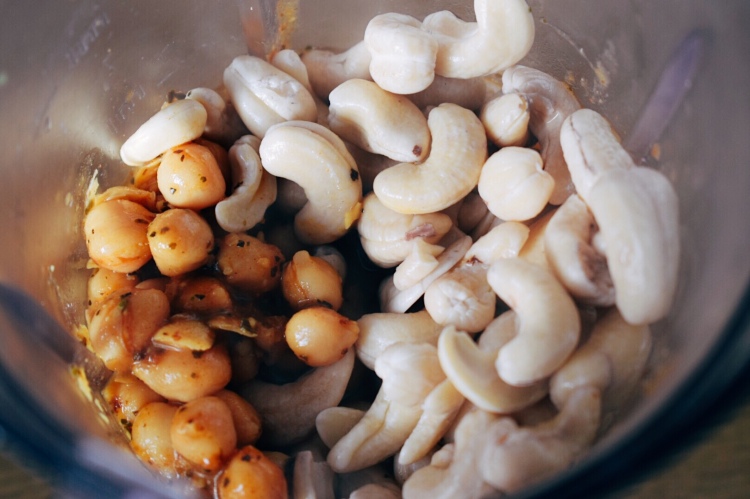 I’ve tried this recipe on numerous occasions where ive used all chickpeas, or added more cashews.. But this ratio is perfectly creamy!
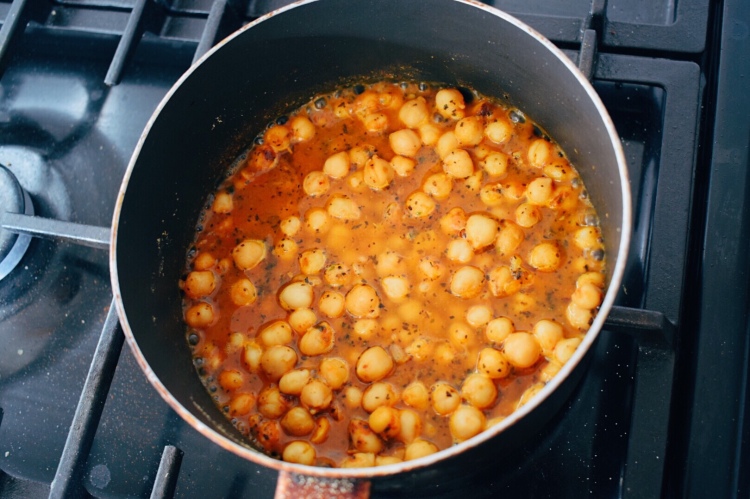 The cashew nuts were soaked in a bowl of boiling water for 10 minutes.
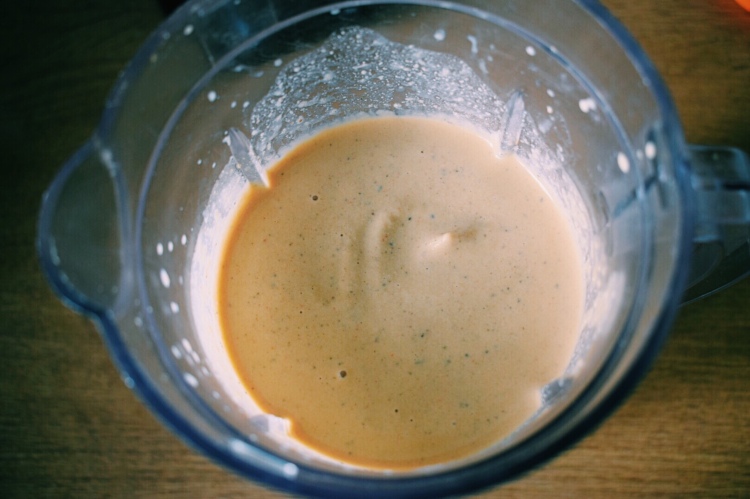 Nutritional yeast and bouillon powder are my go to ingredients in my cupboard at the moment. Nutrional yeast adds a cheesy flavour and is also high in vitamins.
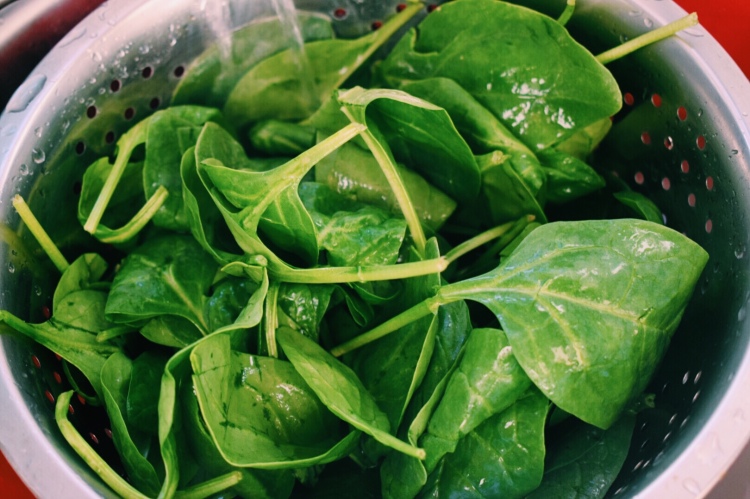
 I added fresh spinach (optional) which i mixed in with cooked pasta on low heat untill it had softened.
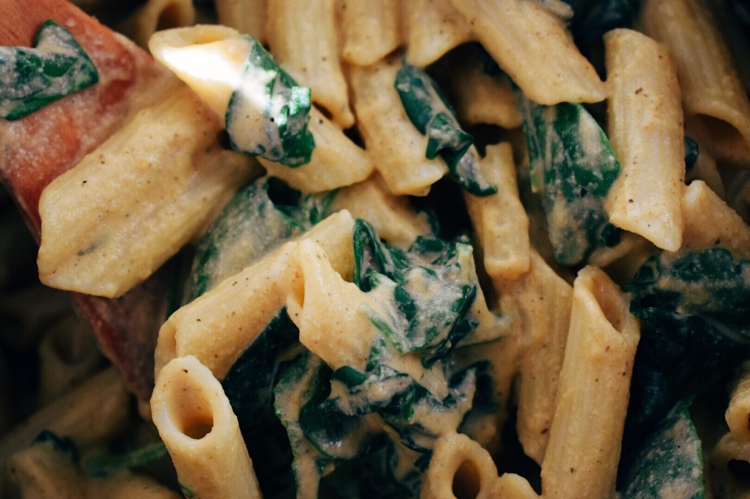 This Chickea & Cashew Sauce is creamy, flavoursome and comforting. Its easy to make and made with nutritious ingredients!
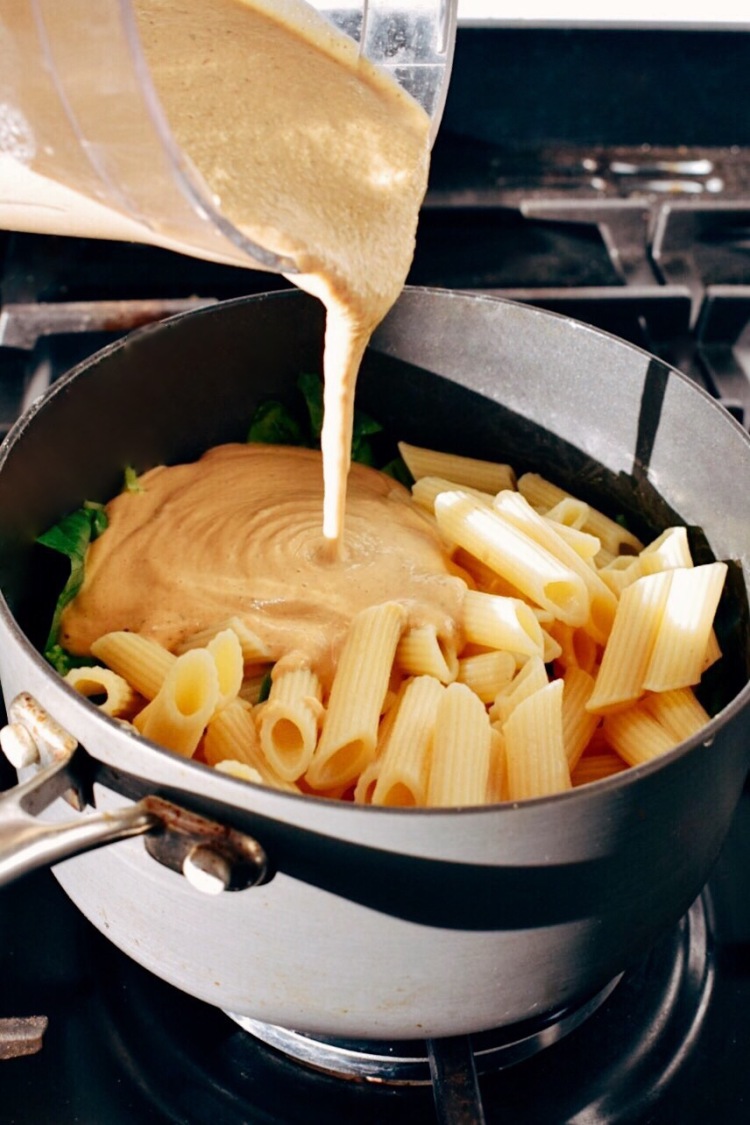

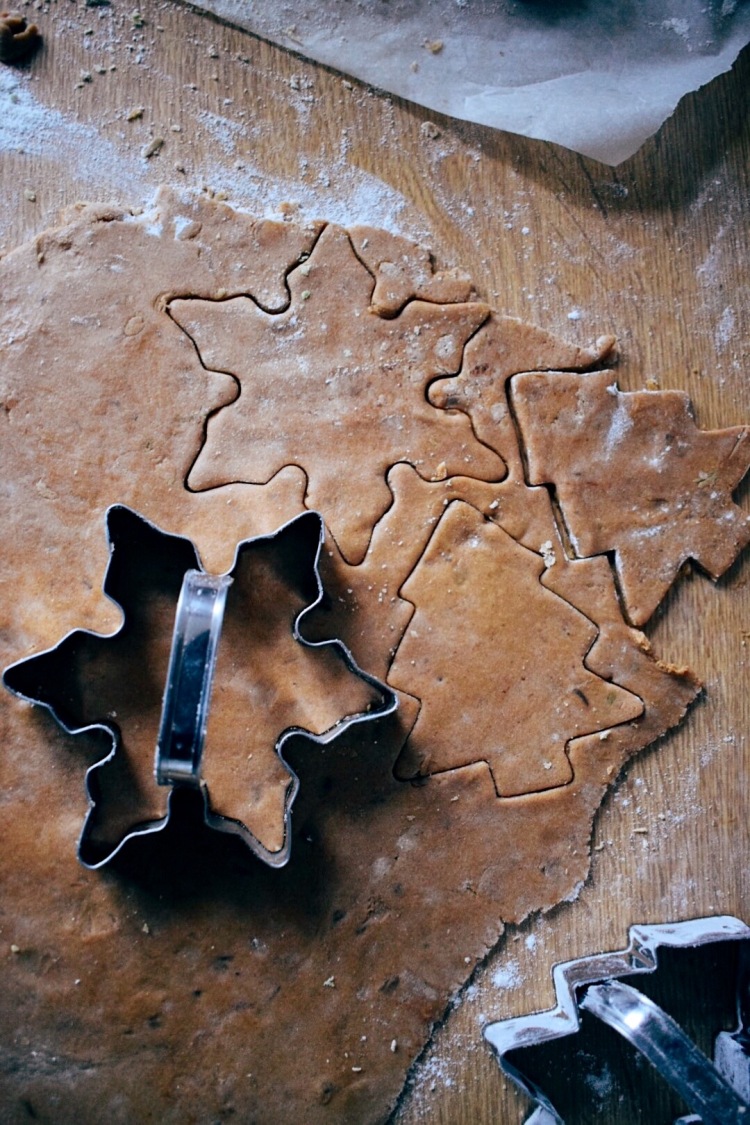 I added ground ginger as well as glacé ginger. This step is optional, but adding real ginger added a subtle kick to the cookies.
 I made the royal icing using aquafaba and powdered sugar. I used an electric whisk, a standard whisk can be used but will take a little longer
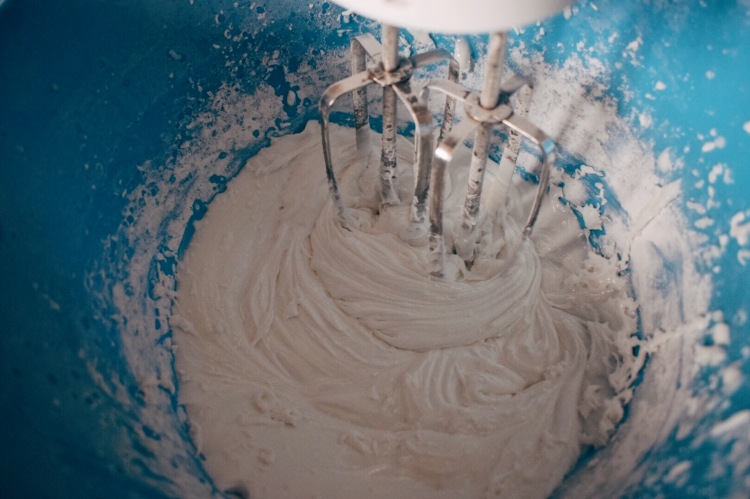 You will be working with one batch of icing and then adjusting the consistency.
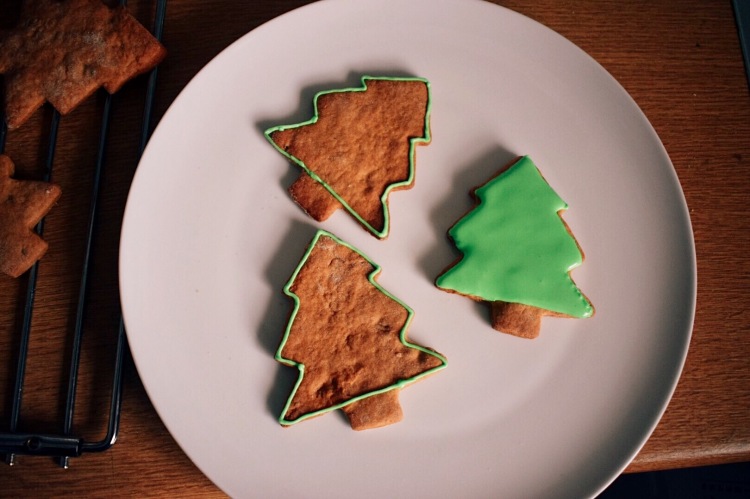 Once this was made i divided the mixture into various bowls and added gel food colouring.
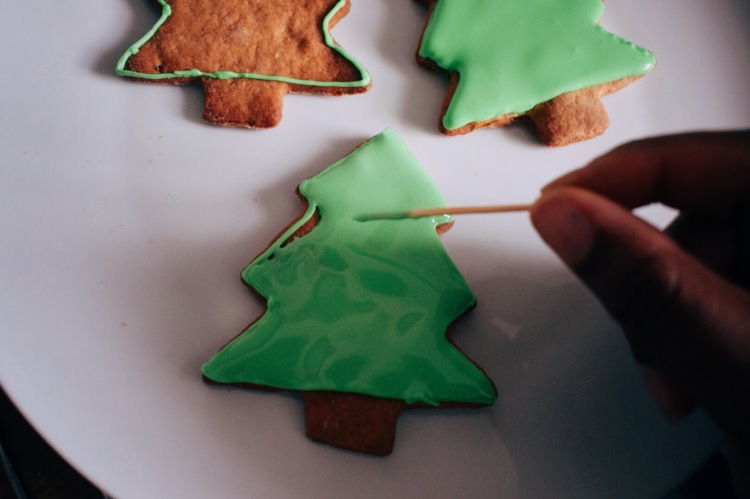 I used a large snowflake and Christmas tree cookie cutter and alternated the decoration. You can choose simple or intricate designs! Or add sprinkles or edible glitter. The choice is yours how you decorate! :)
 These Ginger Cookies are easy to make, delicious, crisp, perfectly spiced and great for a homemade Christmas gift!
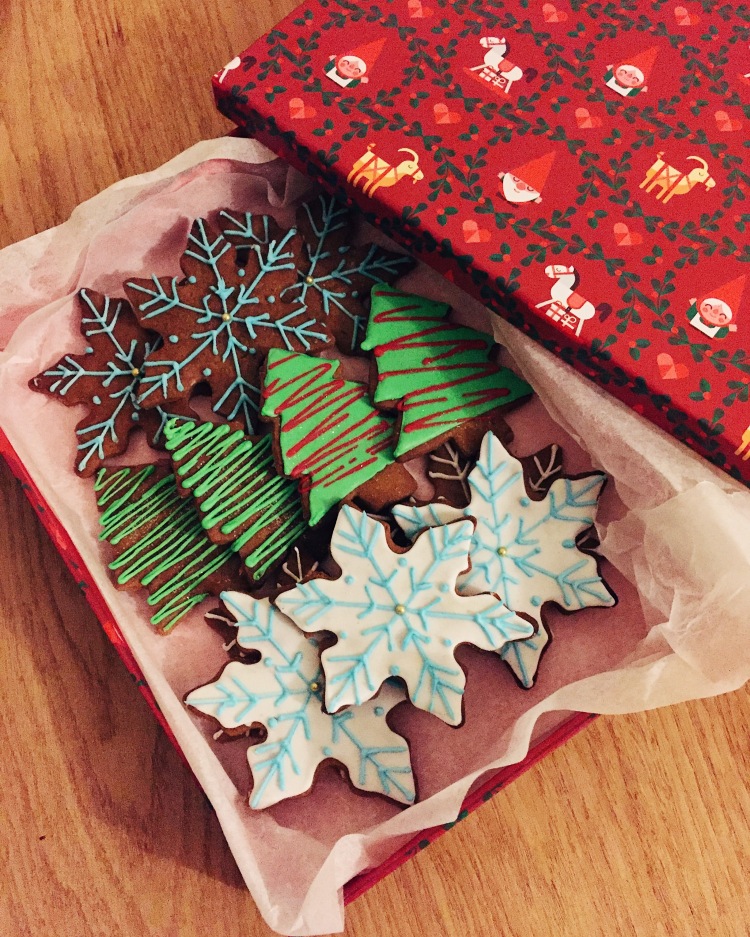
 Makes 16 (depending on size)
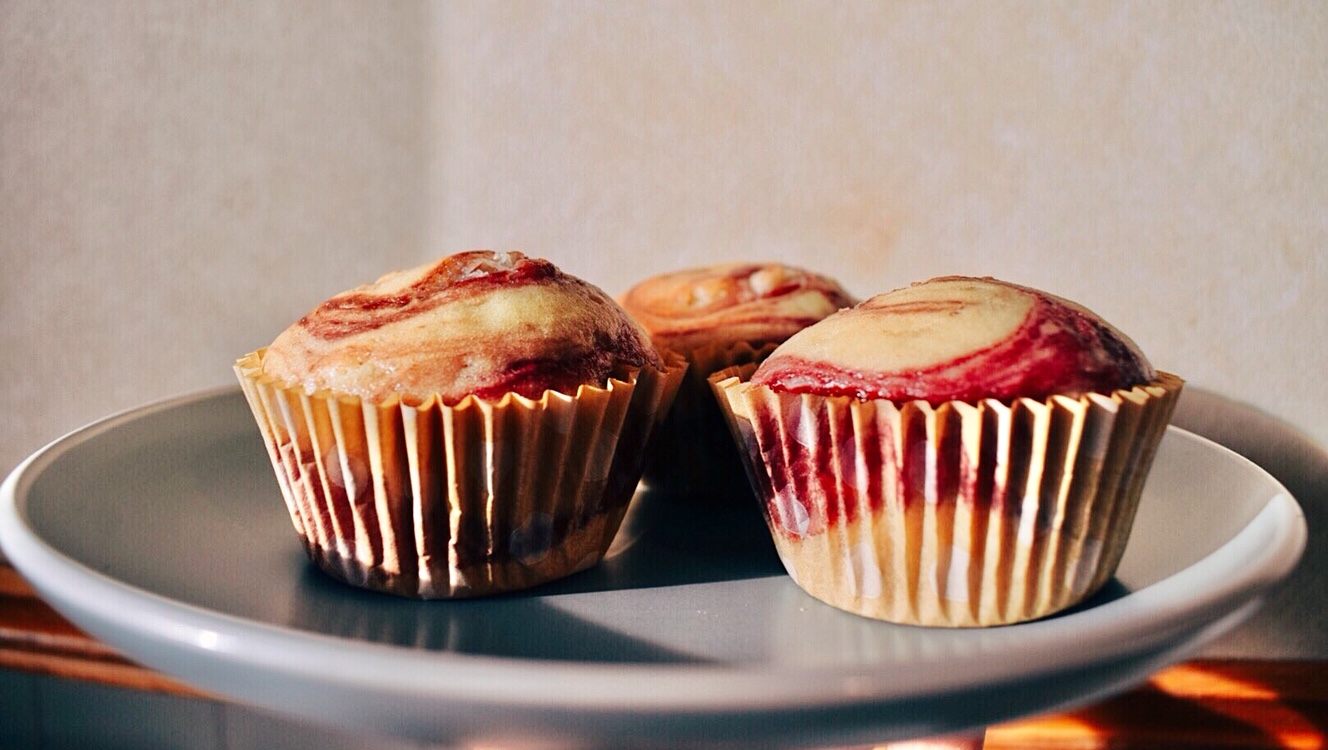

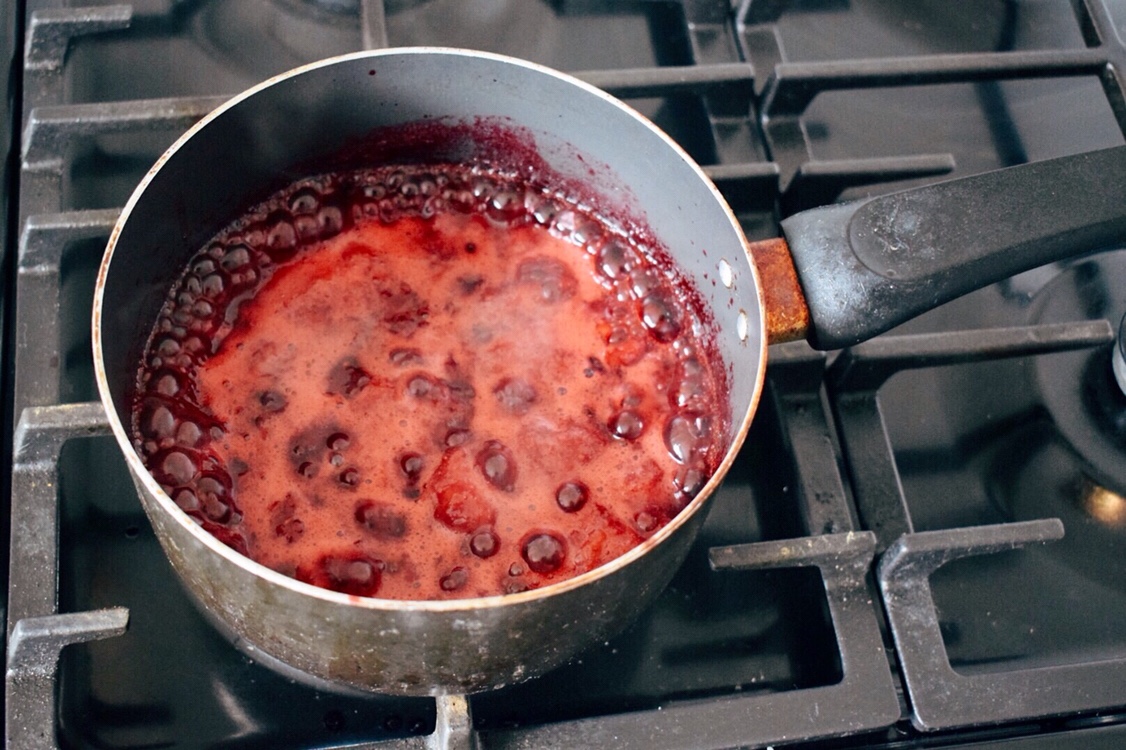
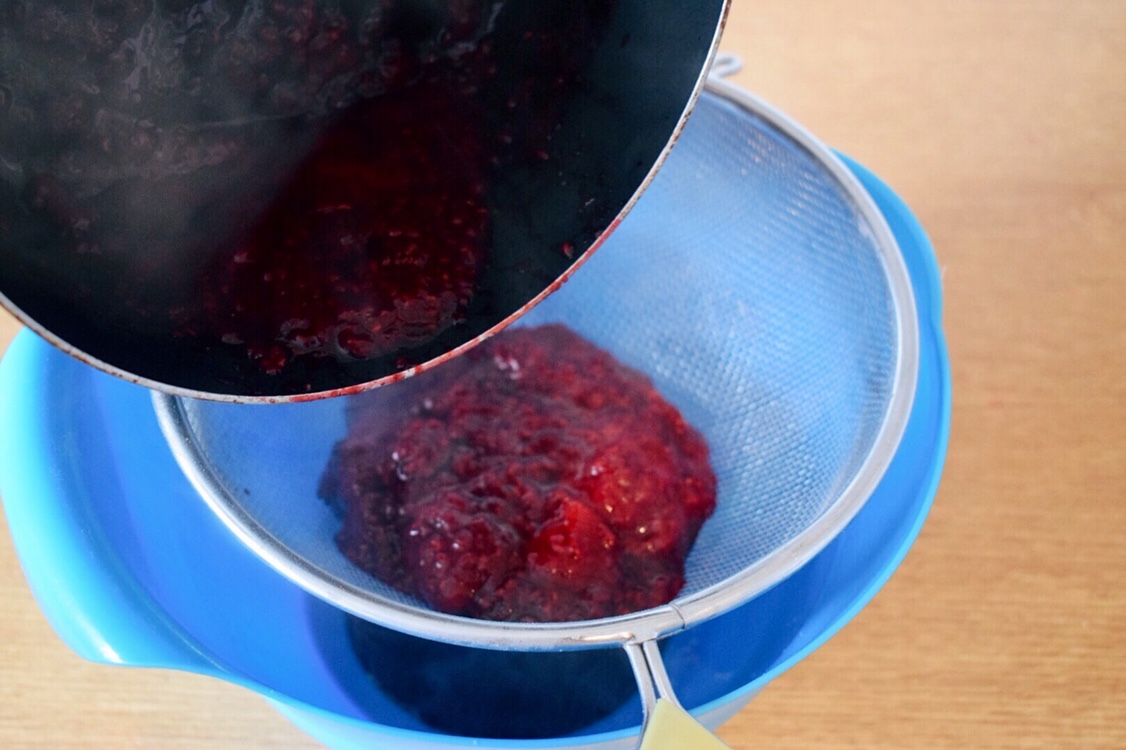


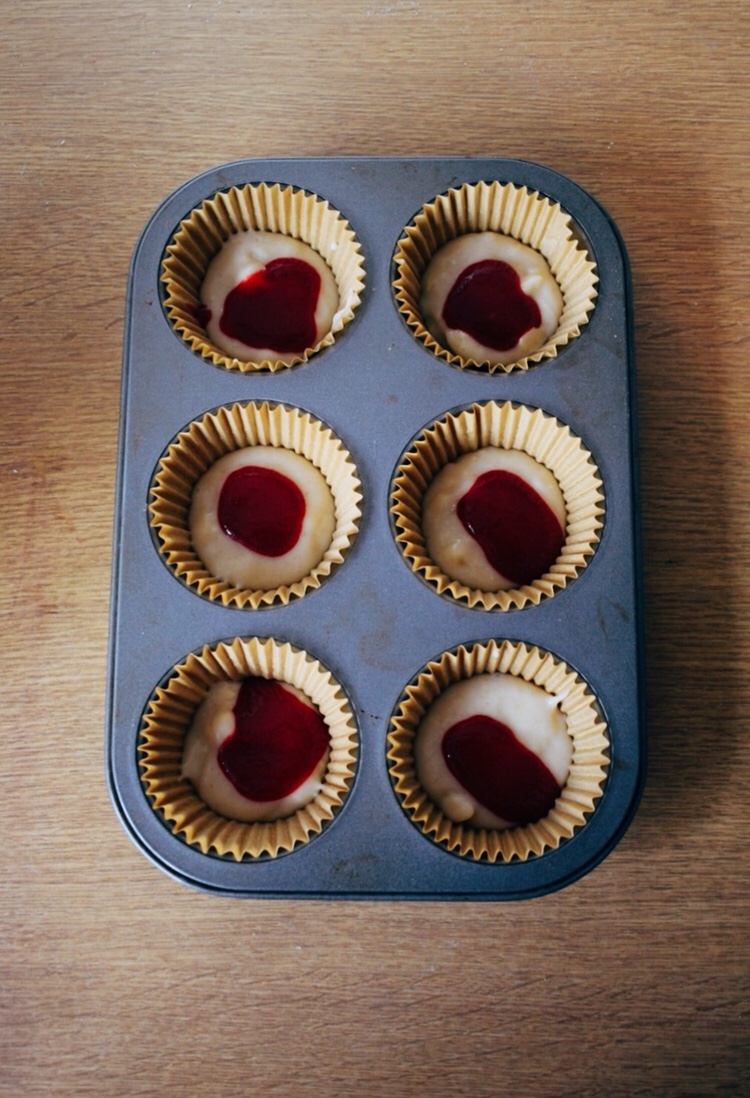

 Makes 15 Muffins
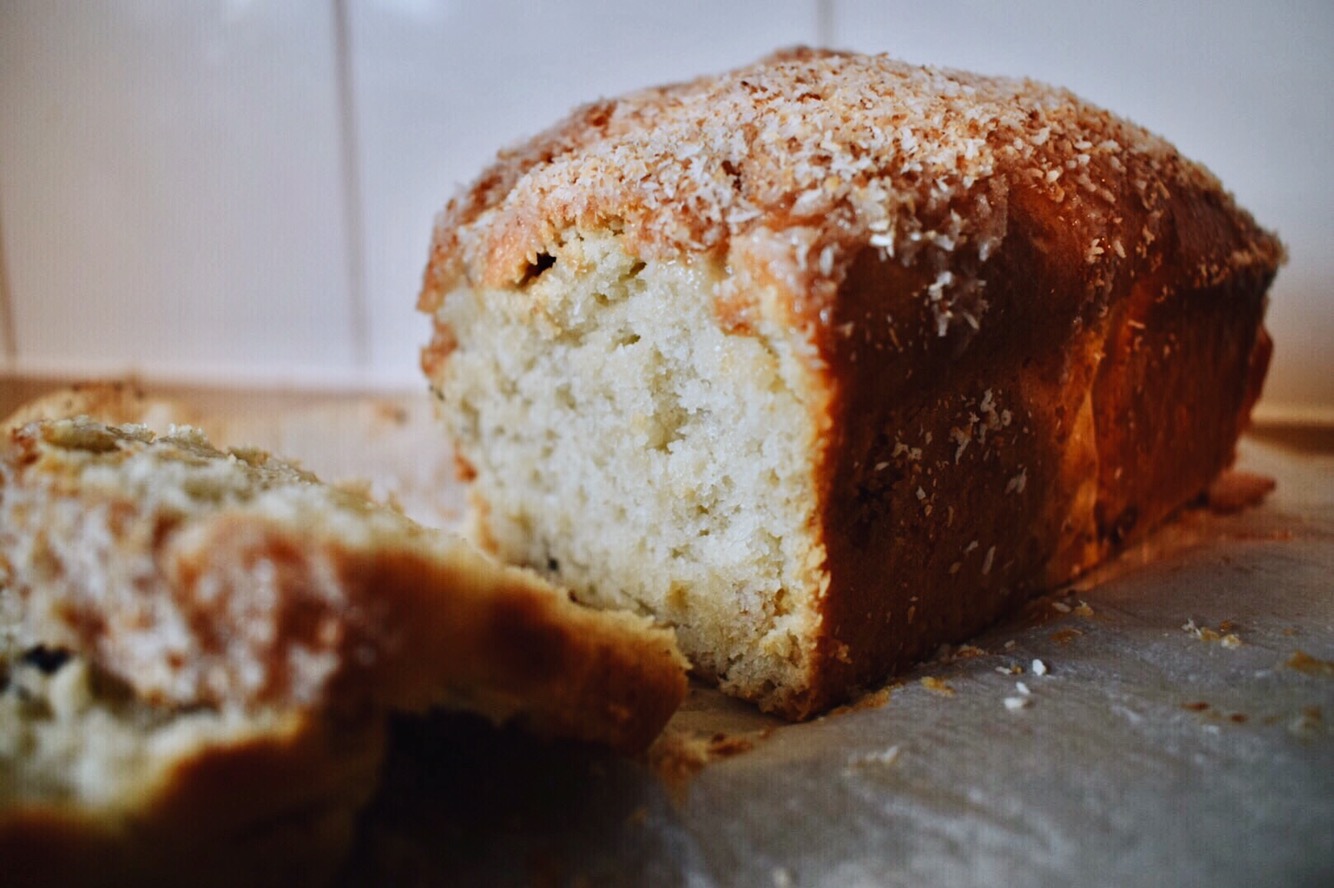


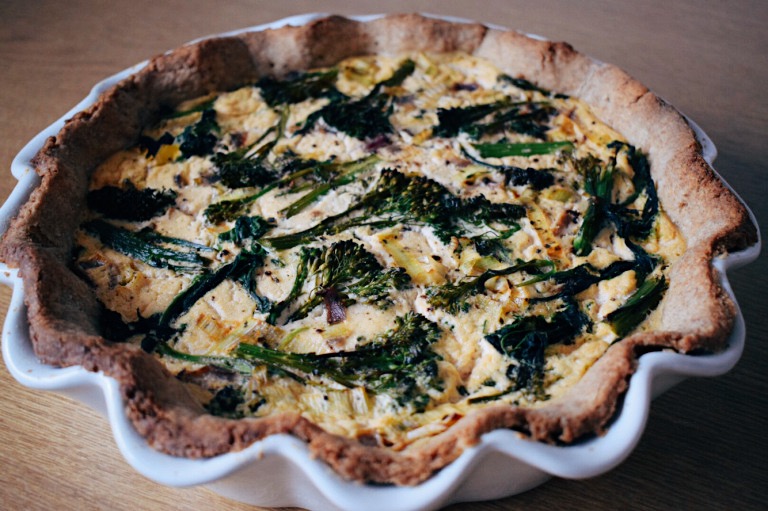
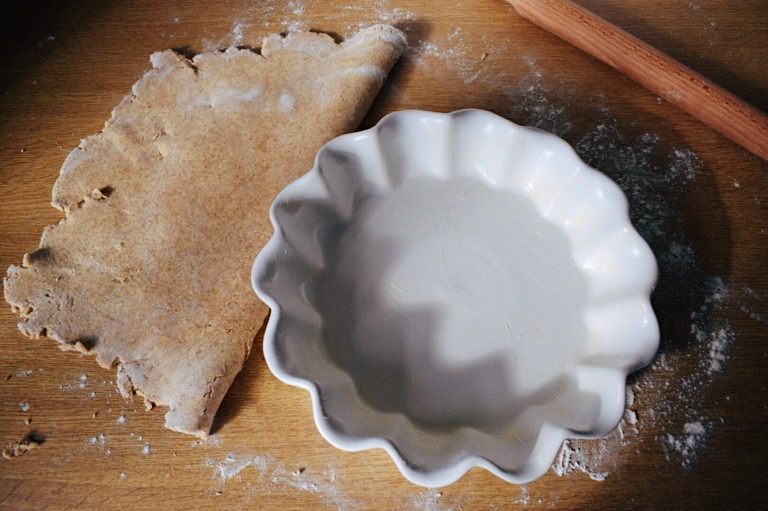
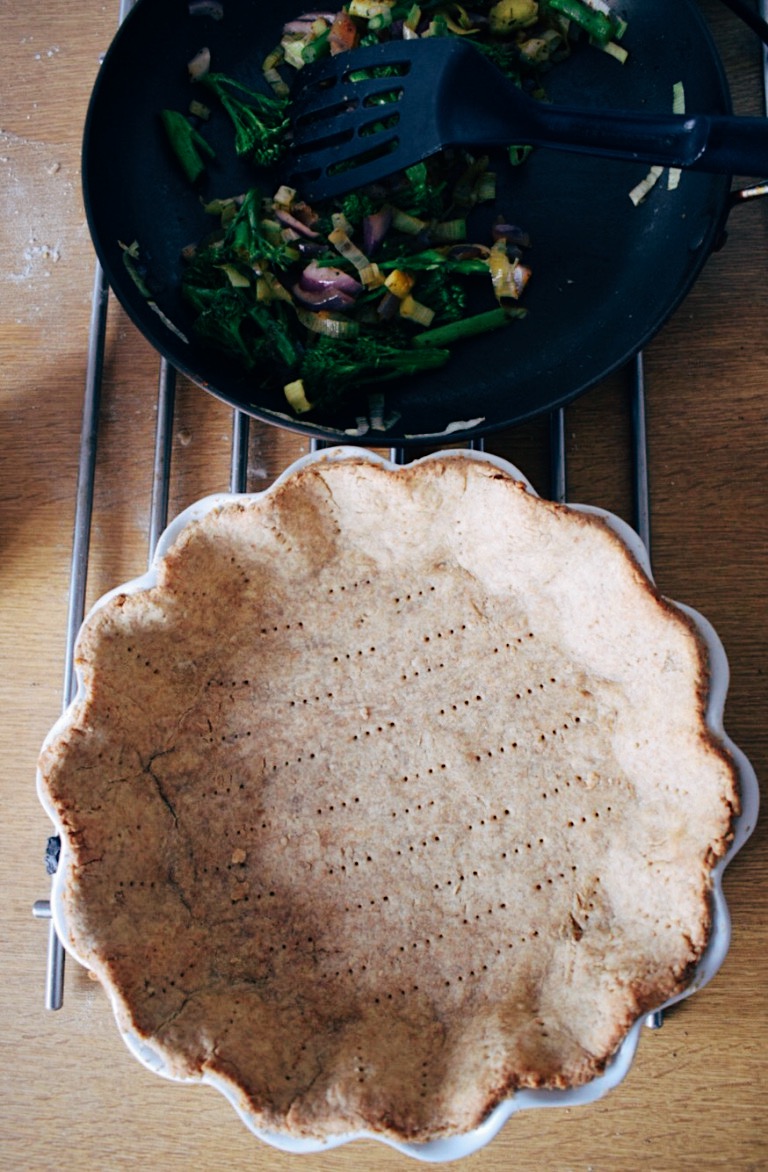 The pastry is made with wholemeal, plain flour and soya butter. To avoid the pastry shrinking in the dish while it blind bakes, it needs to rest in the fridge. Using wholemeal pastry i found that it also shrinks less than plain flour as the fibre makes is heavier.
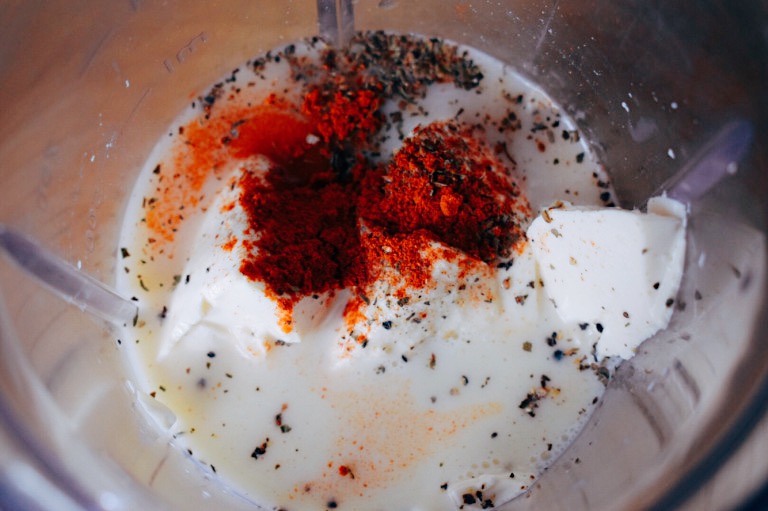
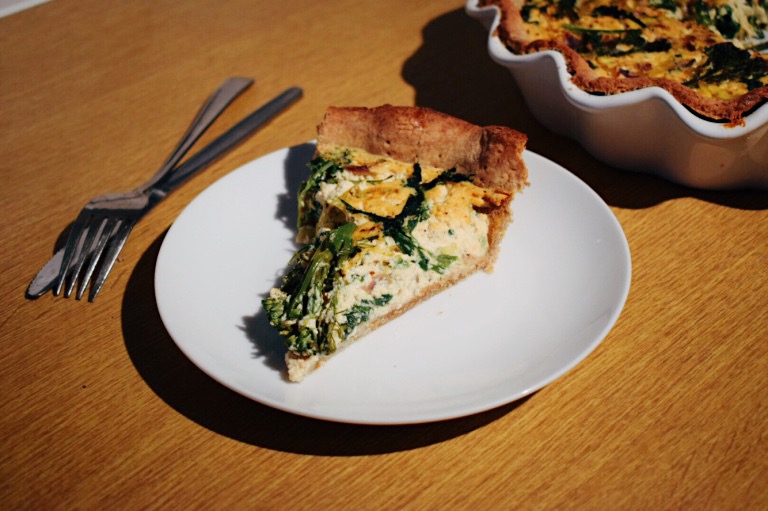
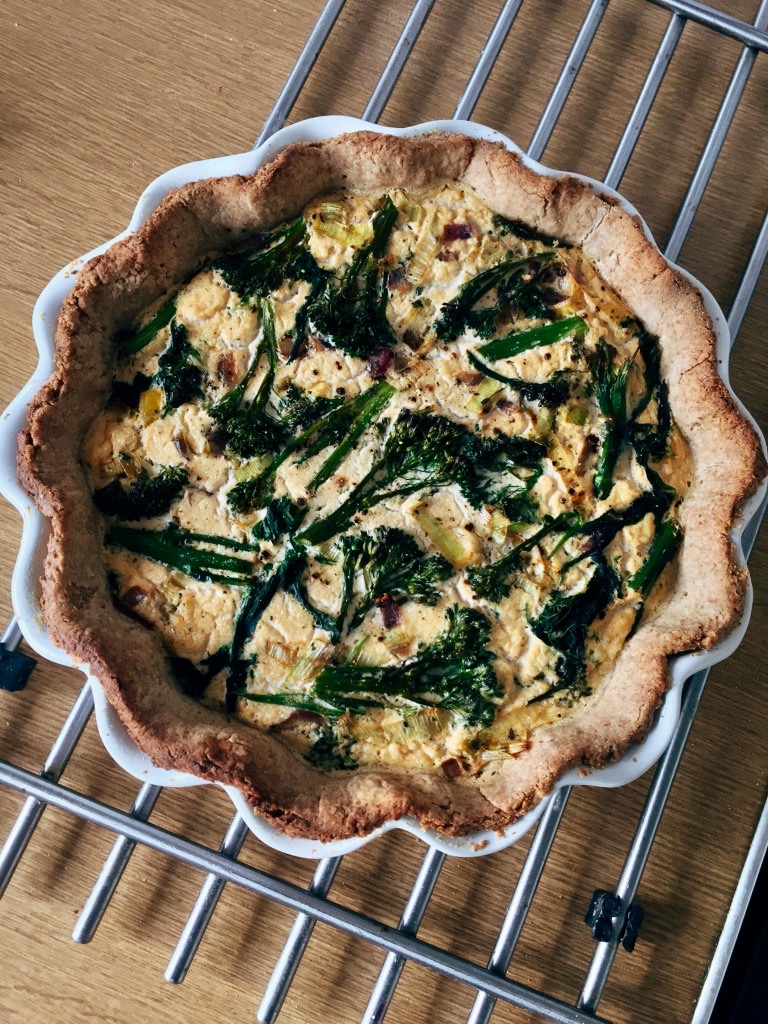 Serves 8
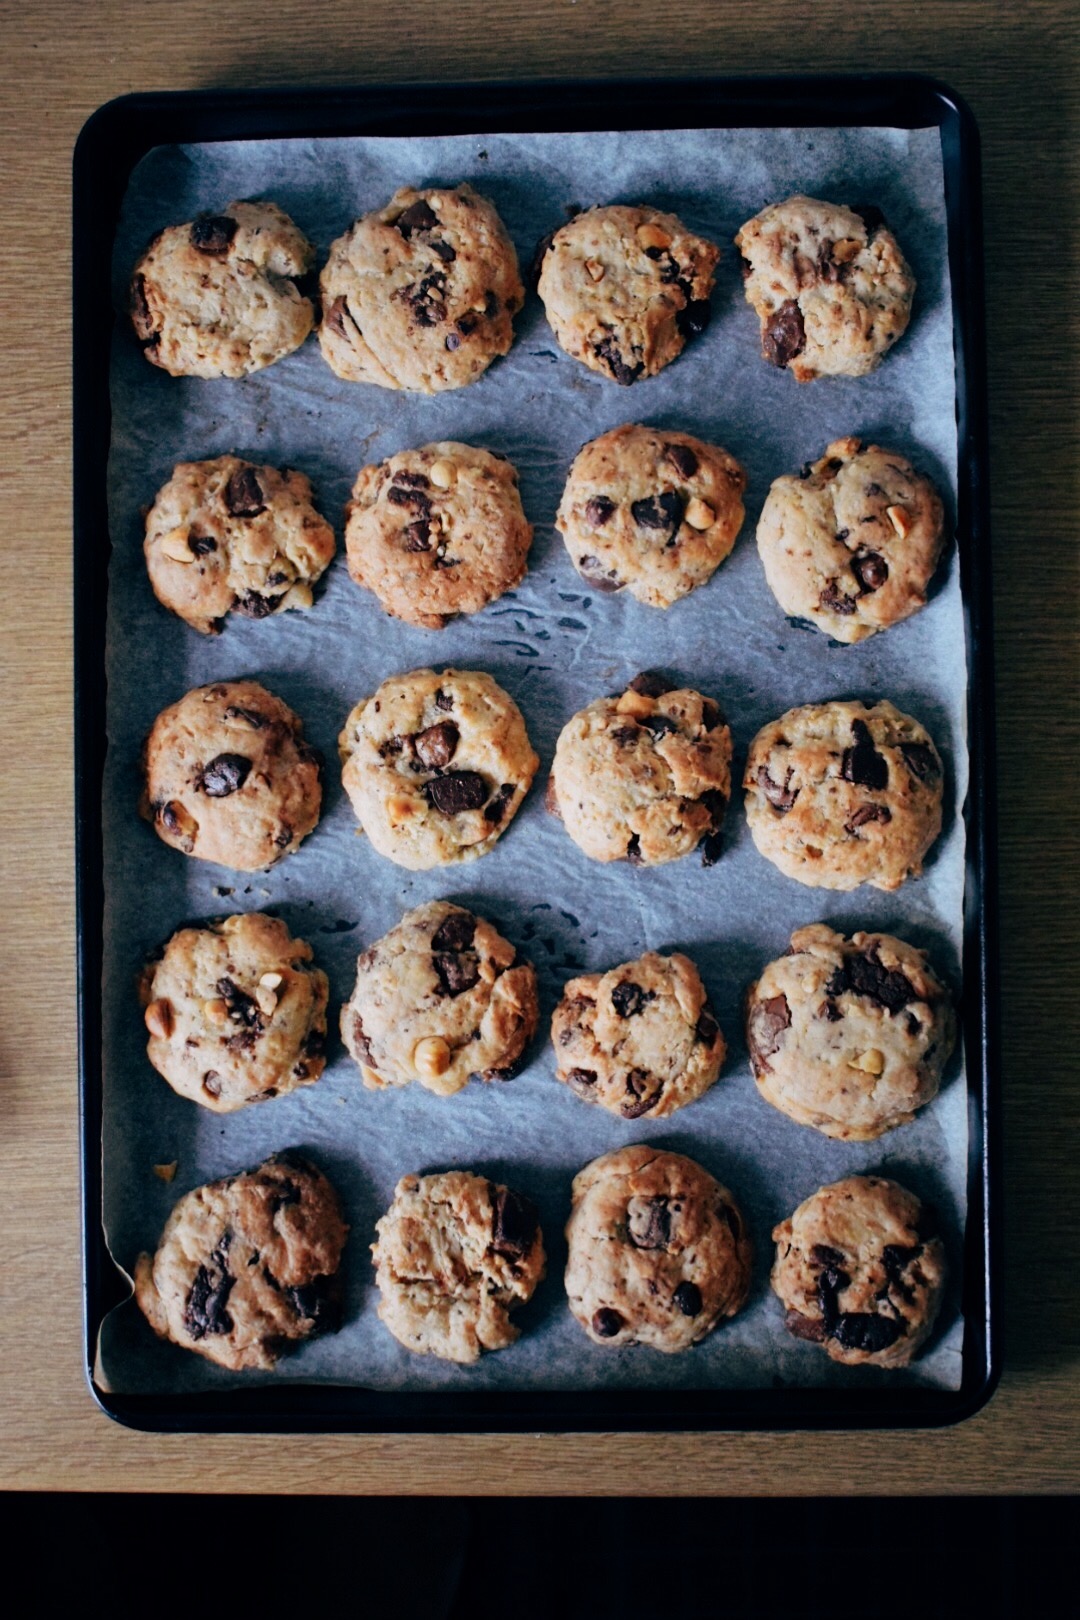
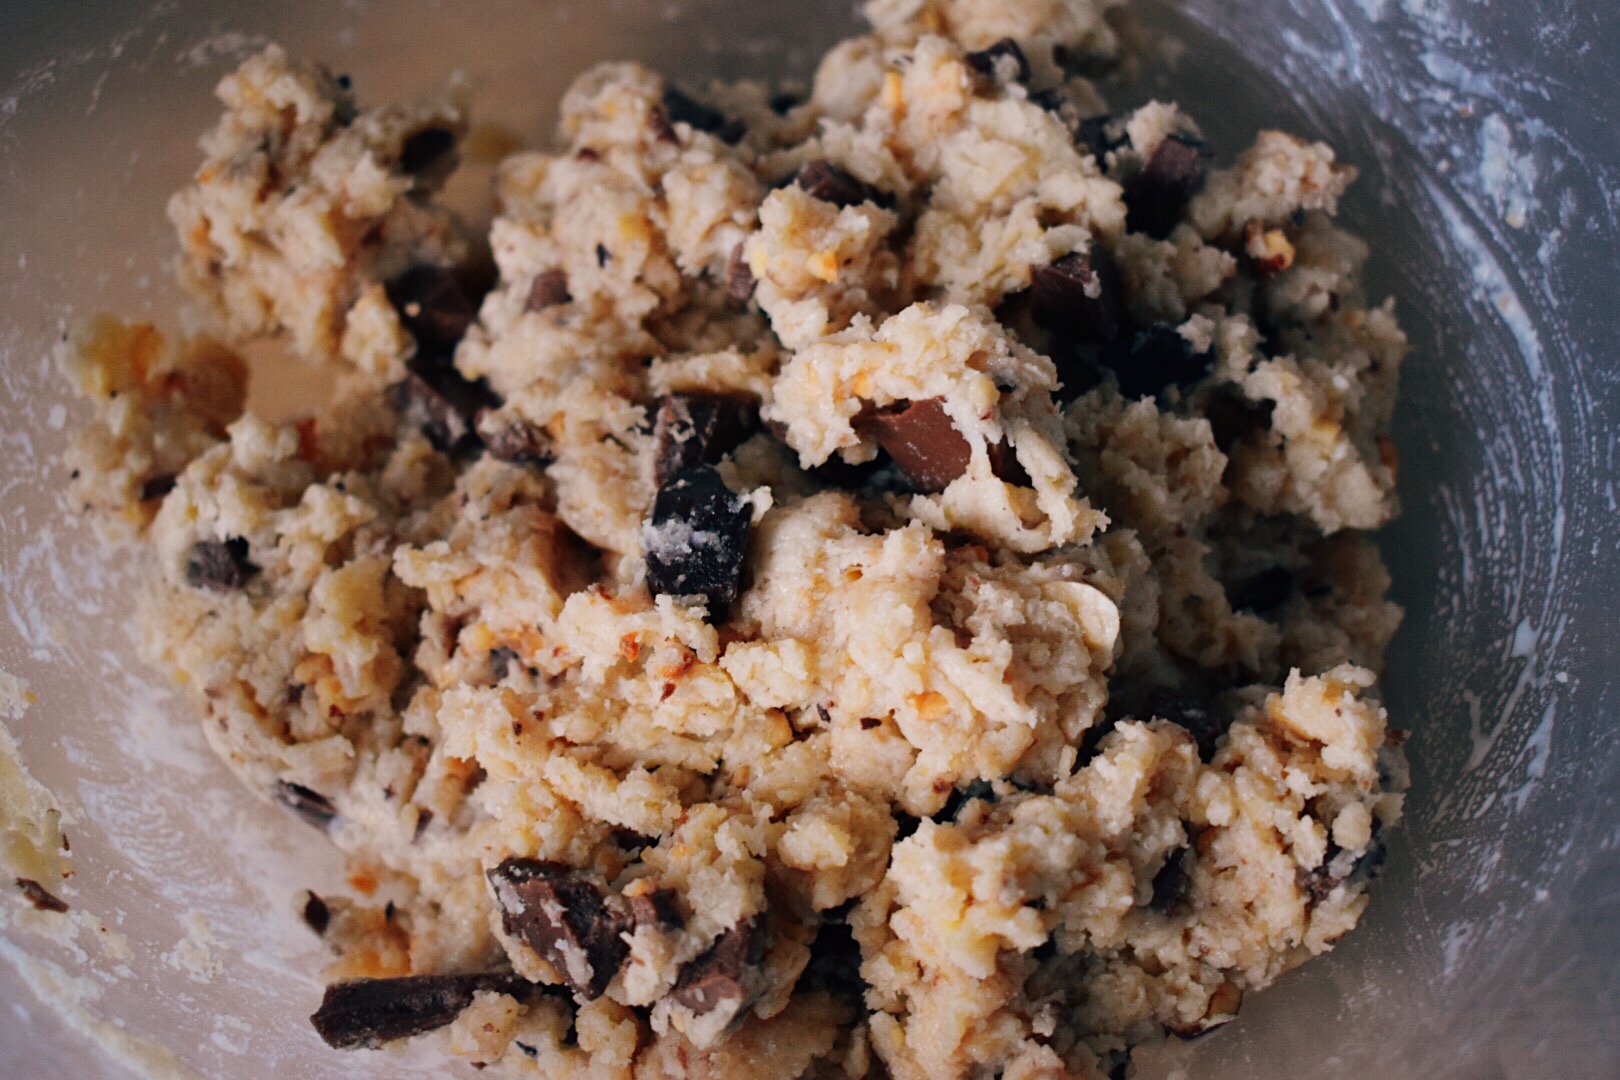

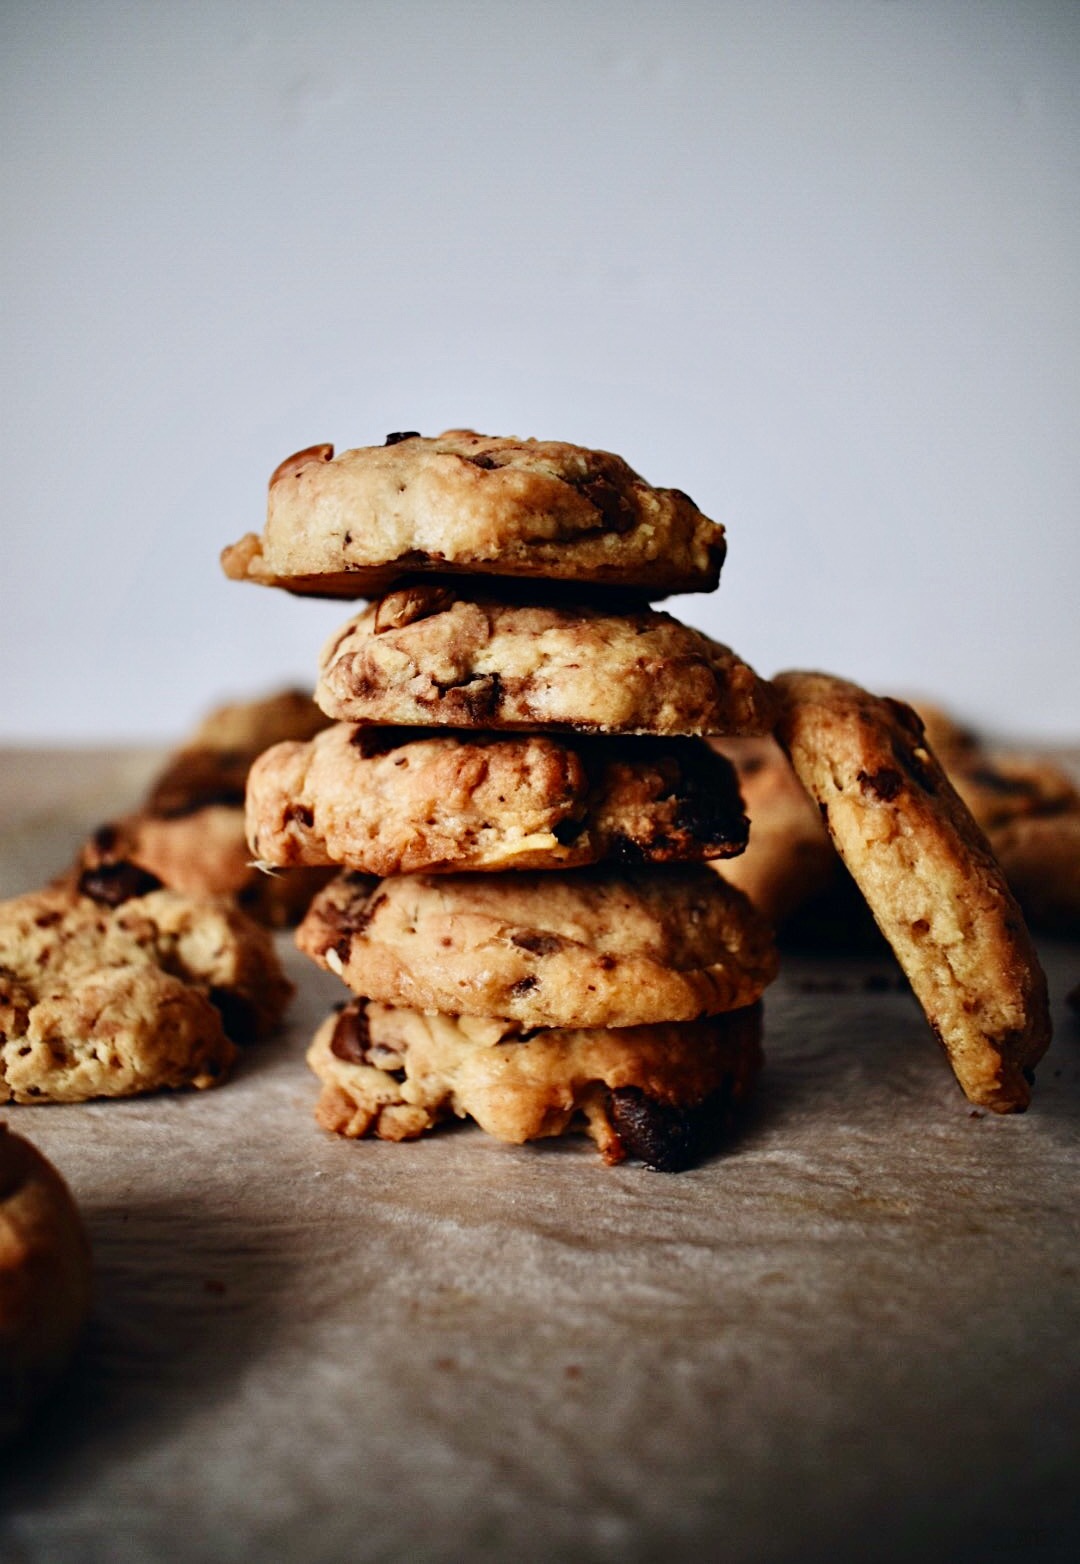
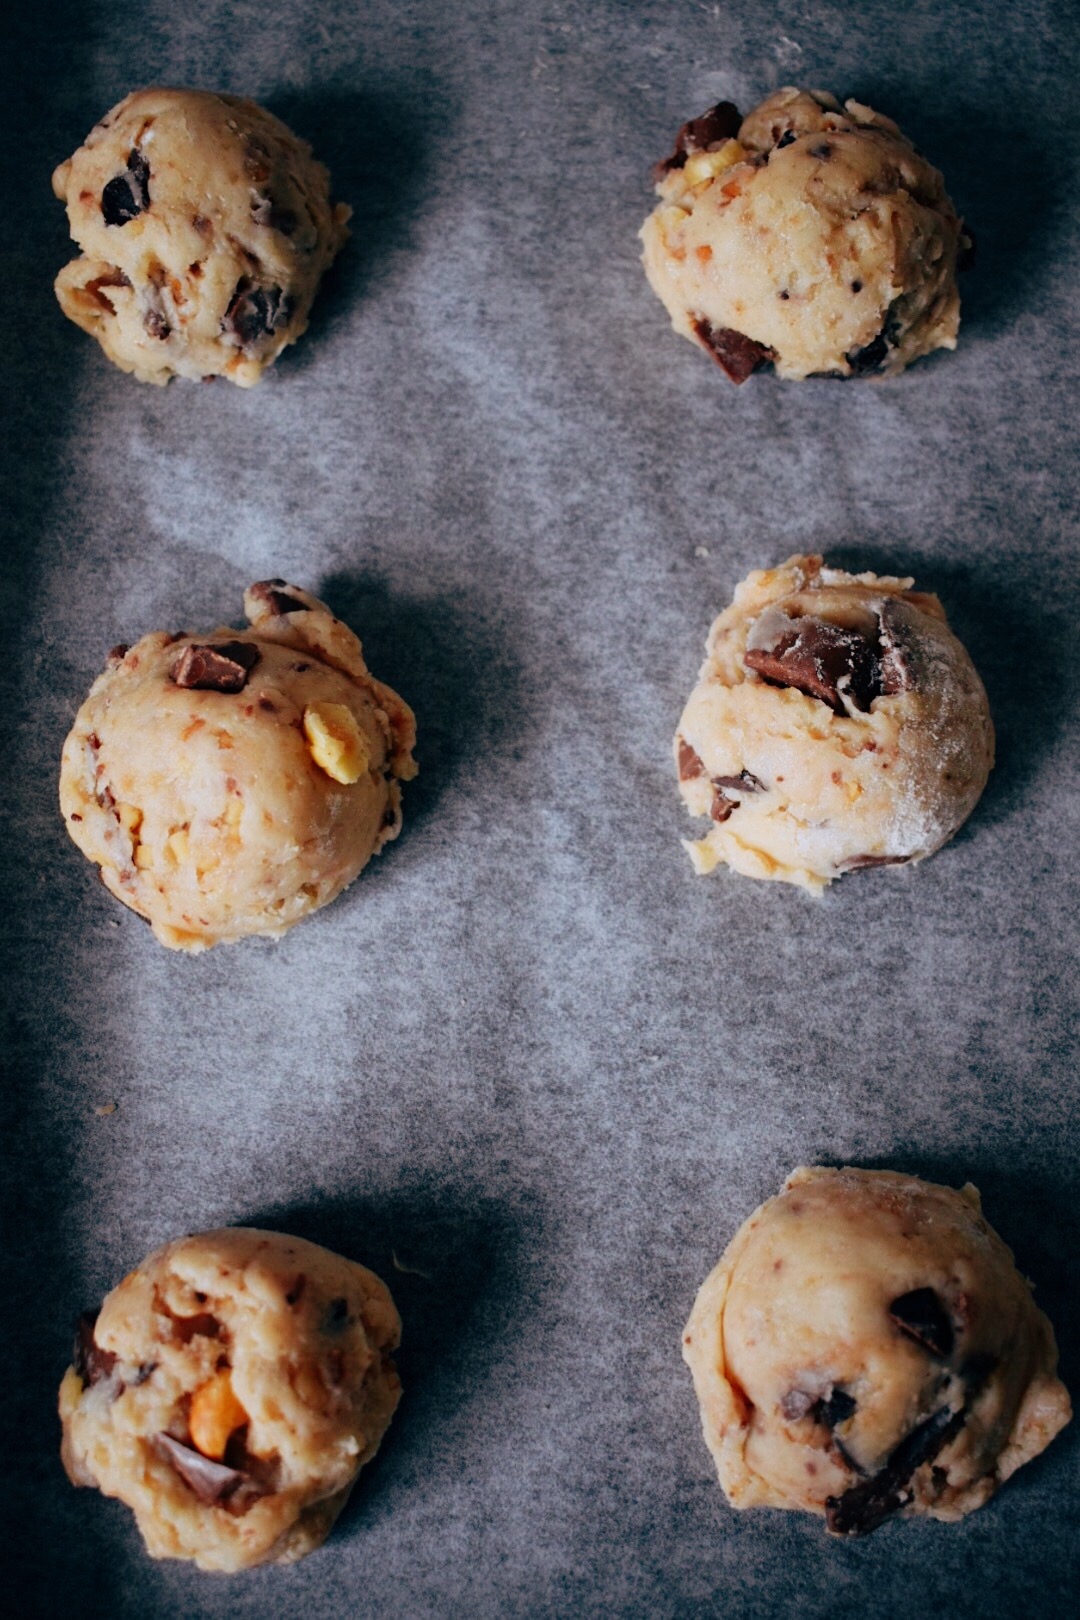 If the ice cream scoop is sticking to the cookies, dip the scoop in plain flour and dust off the excess!
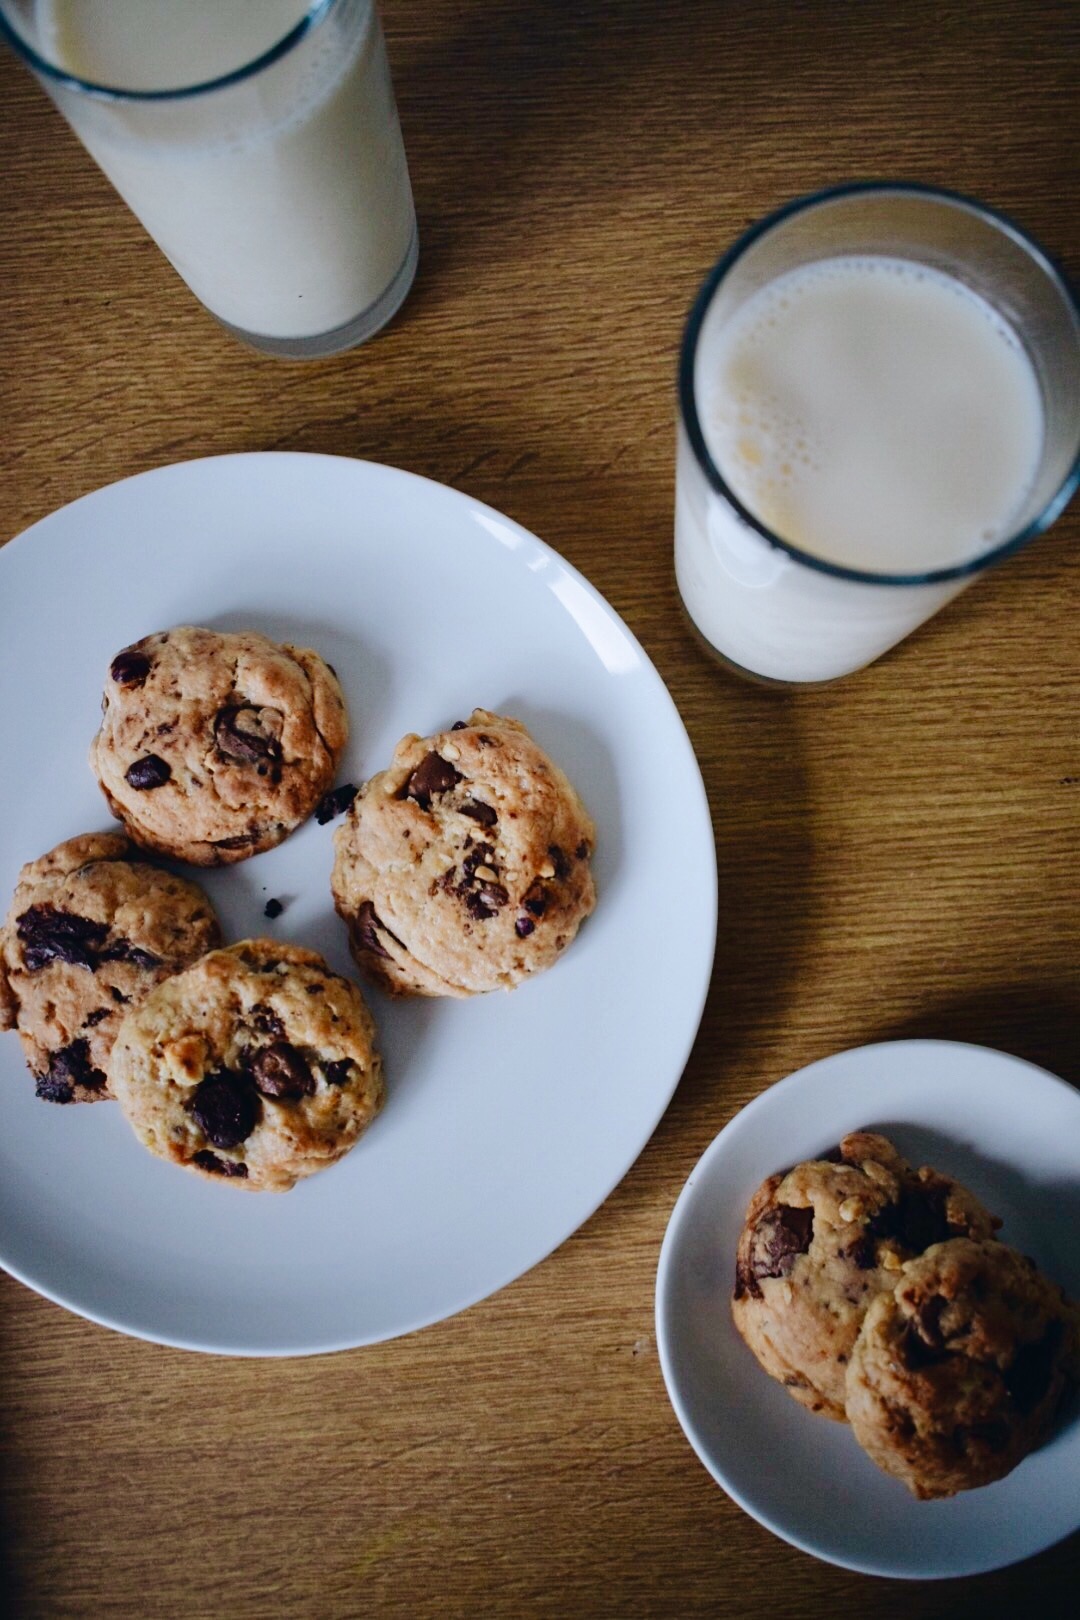


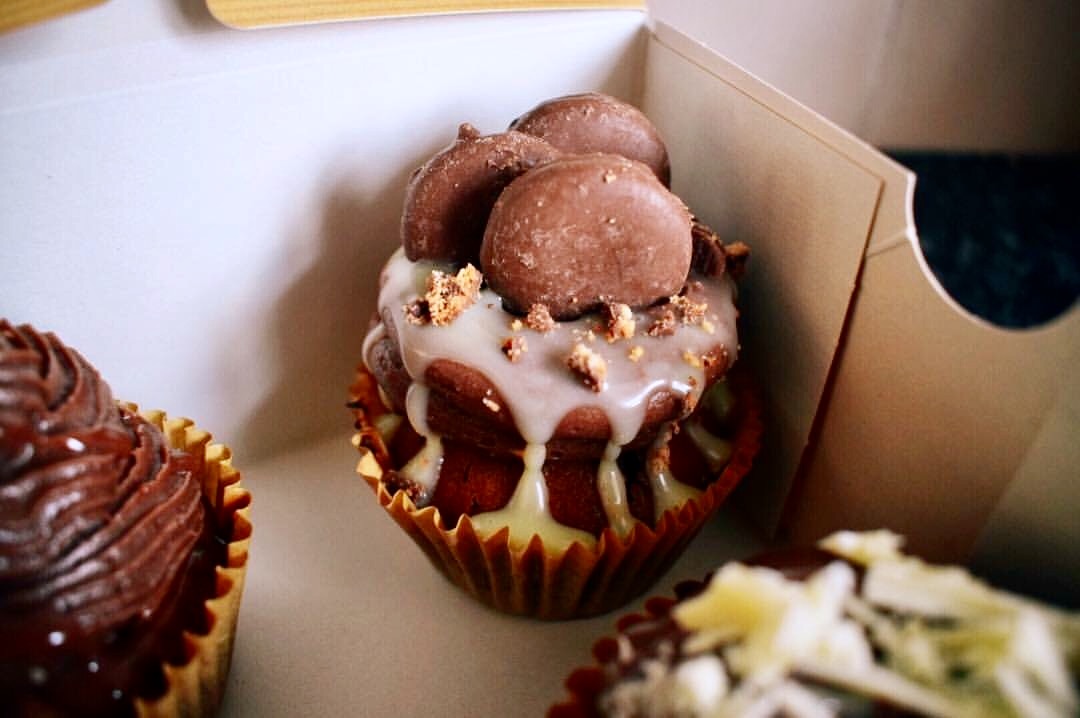
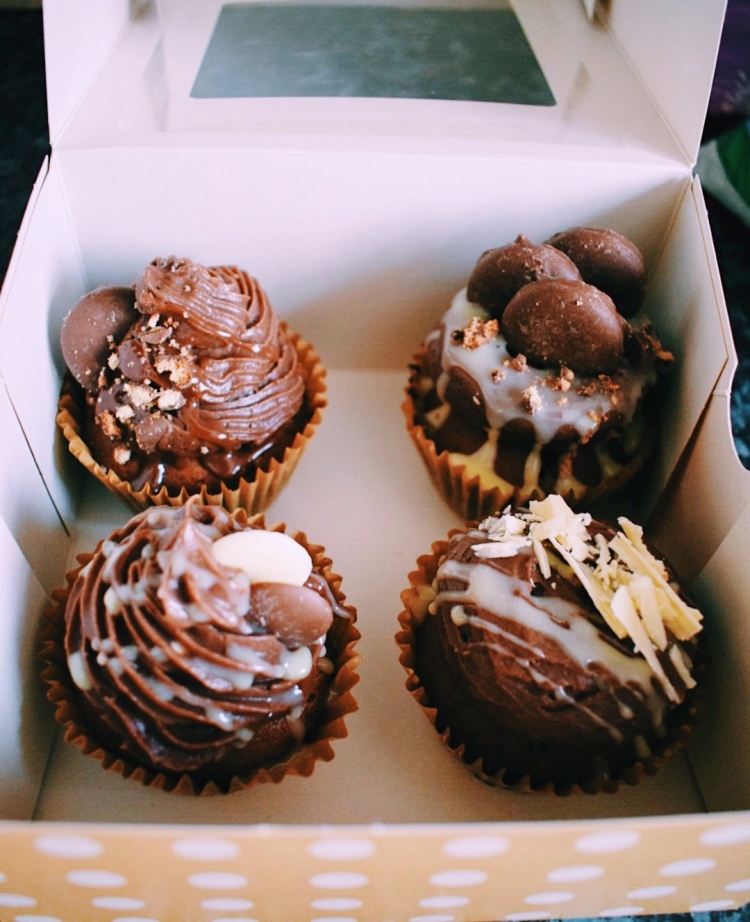 These are perfect for events and something that people of all ages will love
 – Cupcake topped with milk chocolate buttercream, a white chocolate ganache drip and mini cookie pieces.